

Tasks can be added one at a time, in bulk, or at a specific point in the hierarchy. Once created, they can be opened, duplicated or deleted directly from the grid.
Before you start: if the Tasks tab is not showing in your project, go to Project Settings > Enable Tabs and click Enable Tasks Tab.
Create a single task

- Click Create Task in the toolbar above the grid. A new row is added to the Task List.
- Type the task title directly into the grid.
- Click Open Task to add further details, such as Description, Status, Tags, Start and End Date, and Assigned users.
Create several tasks at once
- Open the ellipsis menu in the toolbar above the grid and select Bulk Create Tasks.
- Enter the tasks you want to create, one per row.
- Complete the details in the Bulk Create form. These are applied to every task created.
- Once the tasks are created, open any task individually to add a description, tags or attachments.

Add a task at a specific point in the hierarchy
- Right-click a row in the Task List.
- Select Create Task, then choose whether the new task is a sibling or a child of the selected task.
- Enter the task title. The task appears immediately in the grid.
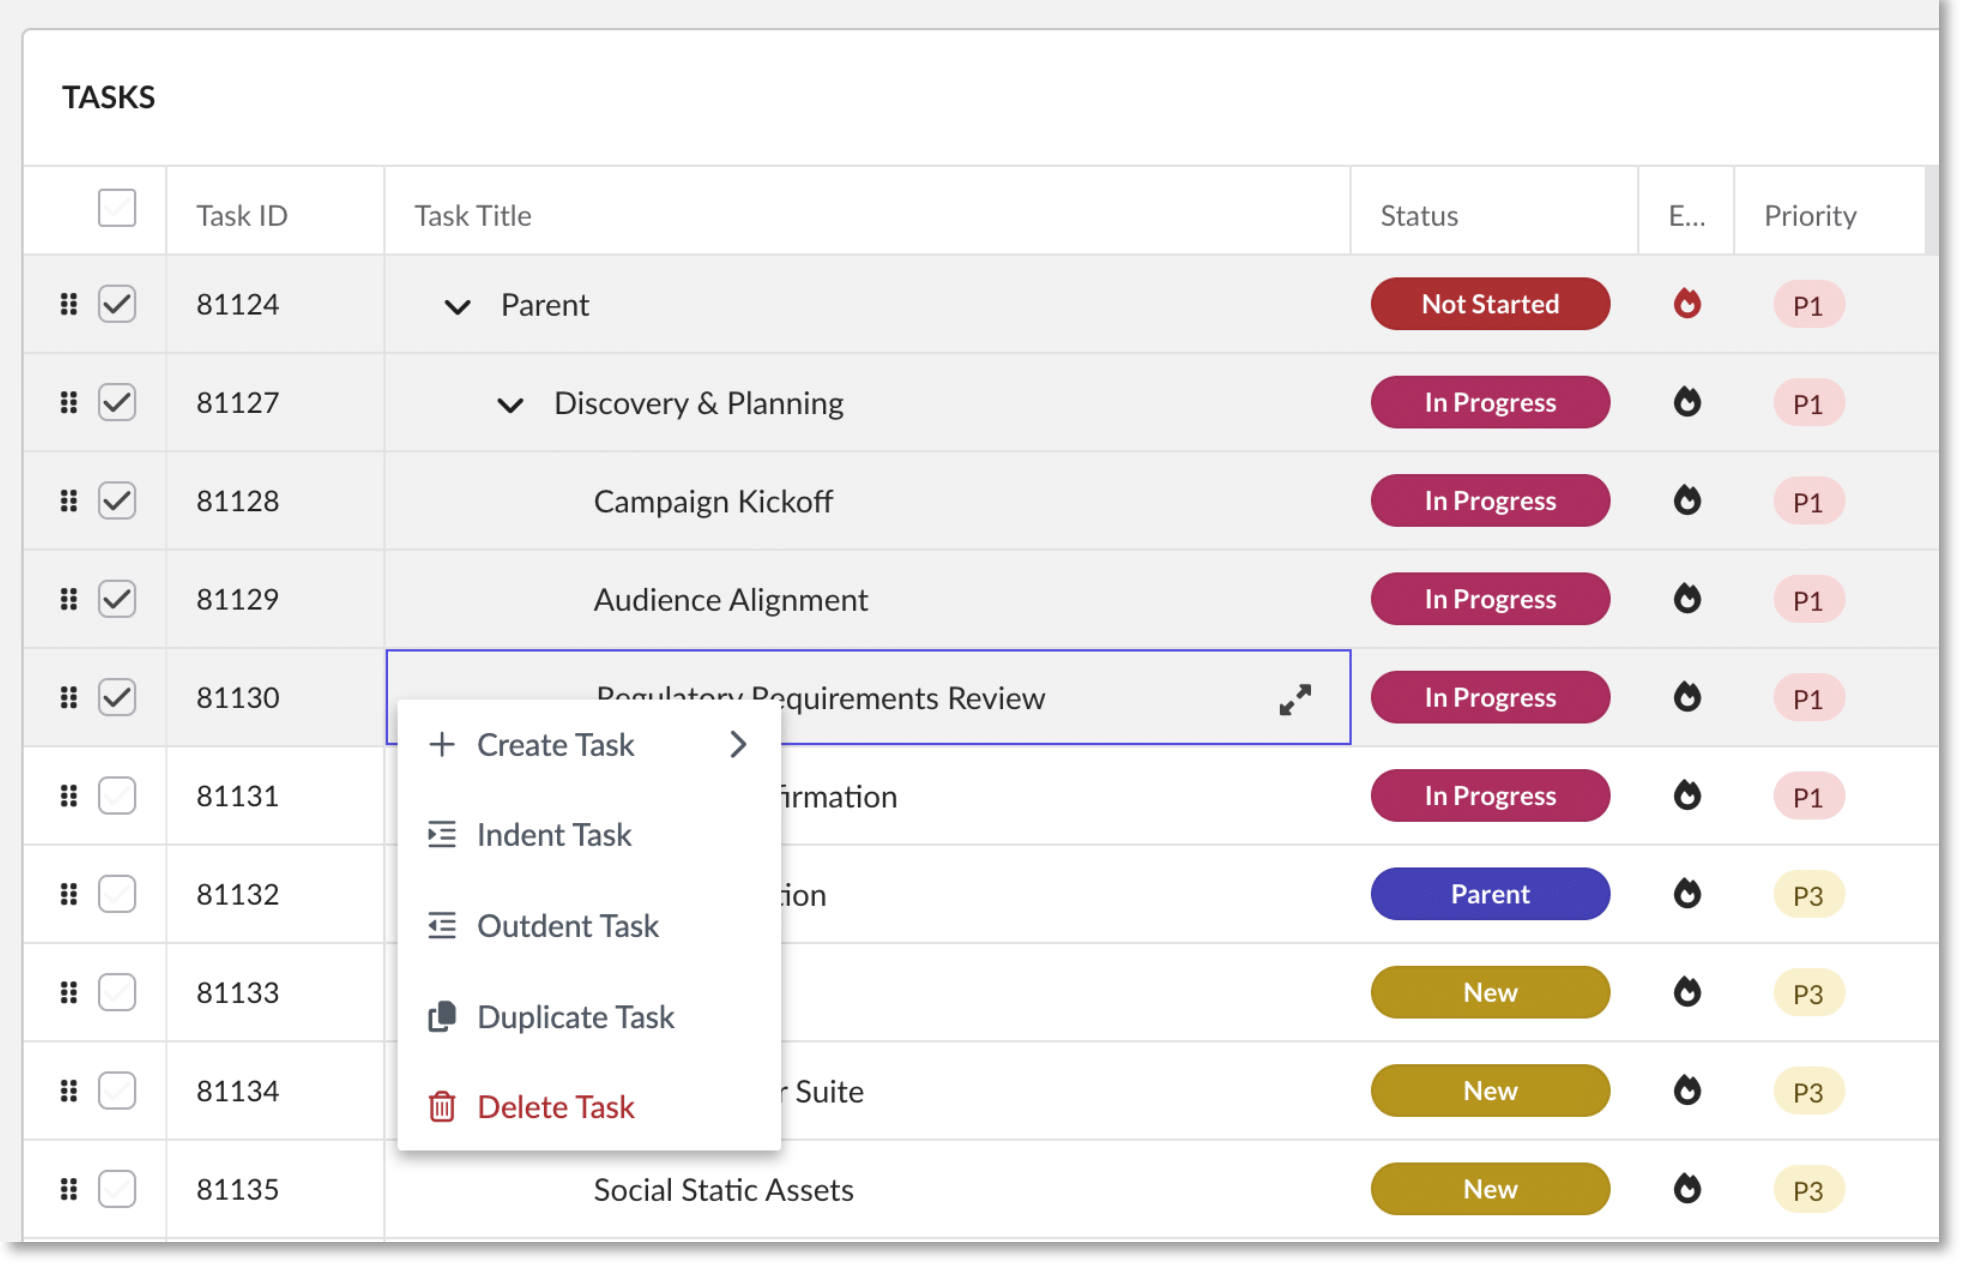
Open, duplicate or delete a task
- Open: click Open Task on the row, or the expand icon, to open the task flyout. Changes made in the flyout and in the grid stay in sync.
- Duplicate or delete: right-click the task and select Duplicate Task or Delete Task.