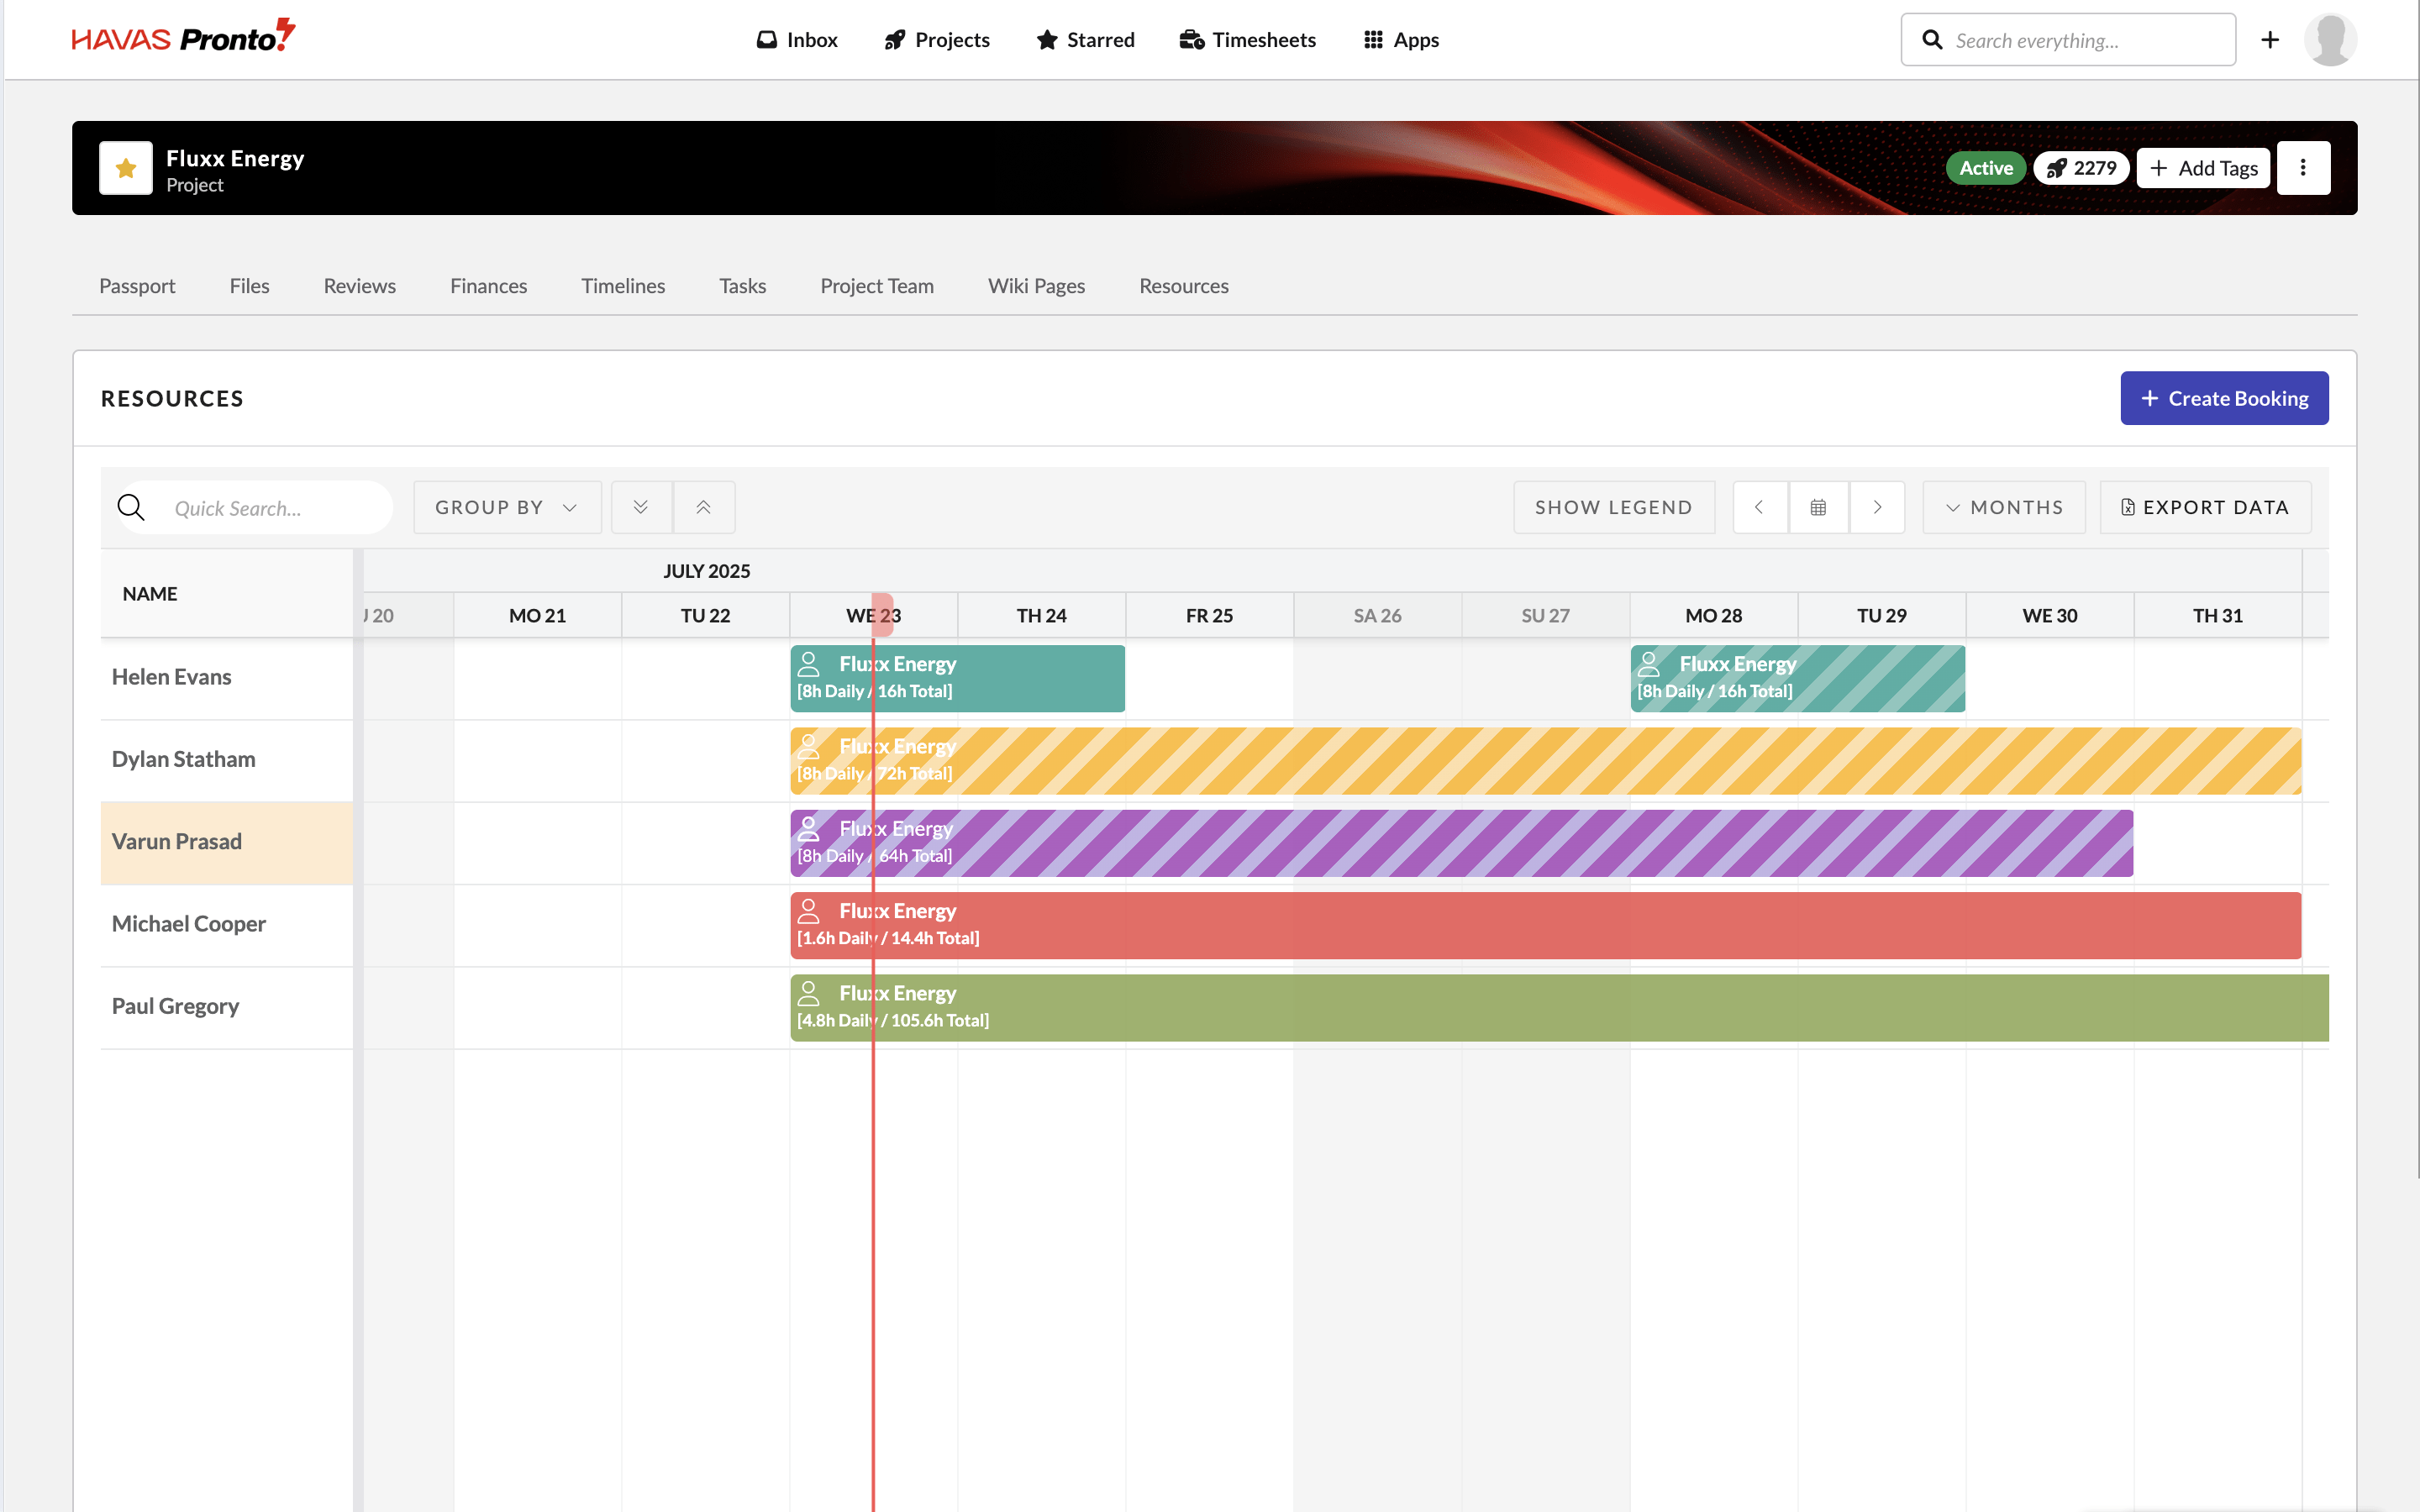
The Scheduler view gives you a live snapshot of who’s been booked, when, and on what.
What you’ll see
- Use the filters panel to narrow what’s shown — by team, role, project, or office
- Users down the left
- Days or weeks across the top
- Coloured bars for bookings and leave (PTO)
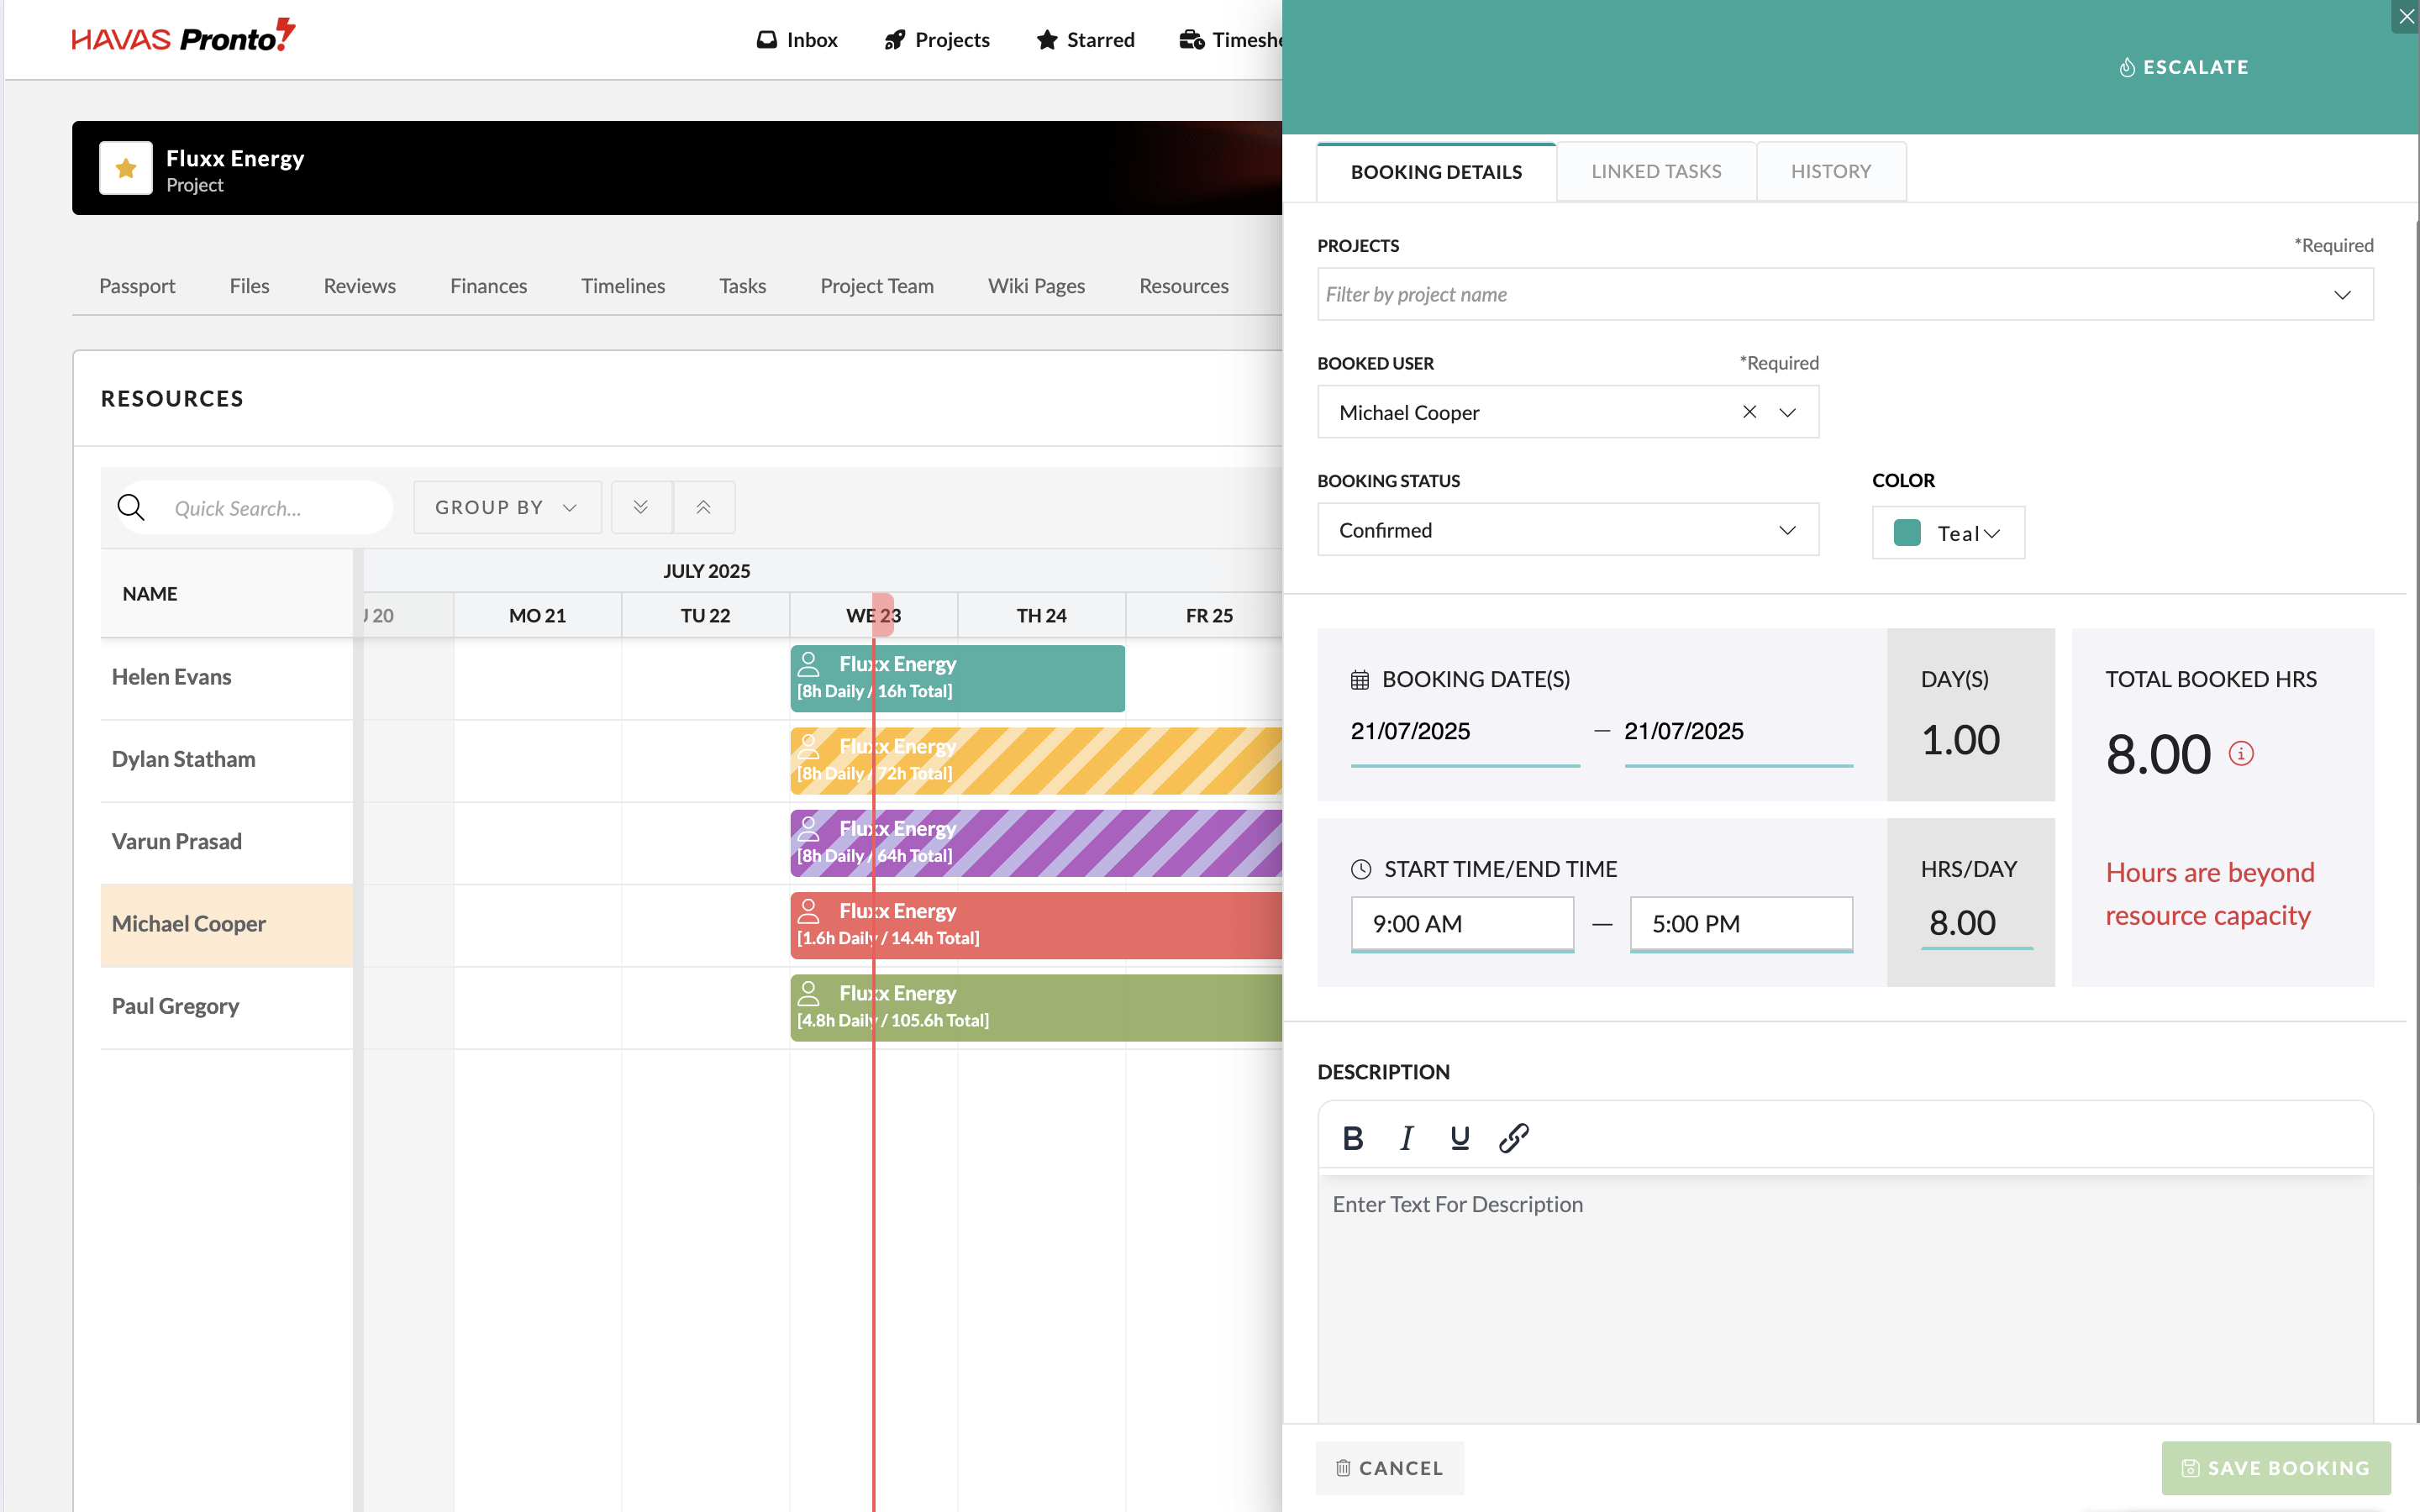
Making bookings
You can manage bookings directly in the scheduler.
- Drag to move a booking to a new date or user
- Drag the ends to extend or reduce a booking
Deleting bookings
If you have edit access, you can delete a booking:
- Double-click the booking > then click delete
- Or, right-click the booking > choose edit booking > then delete
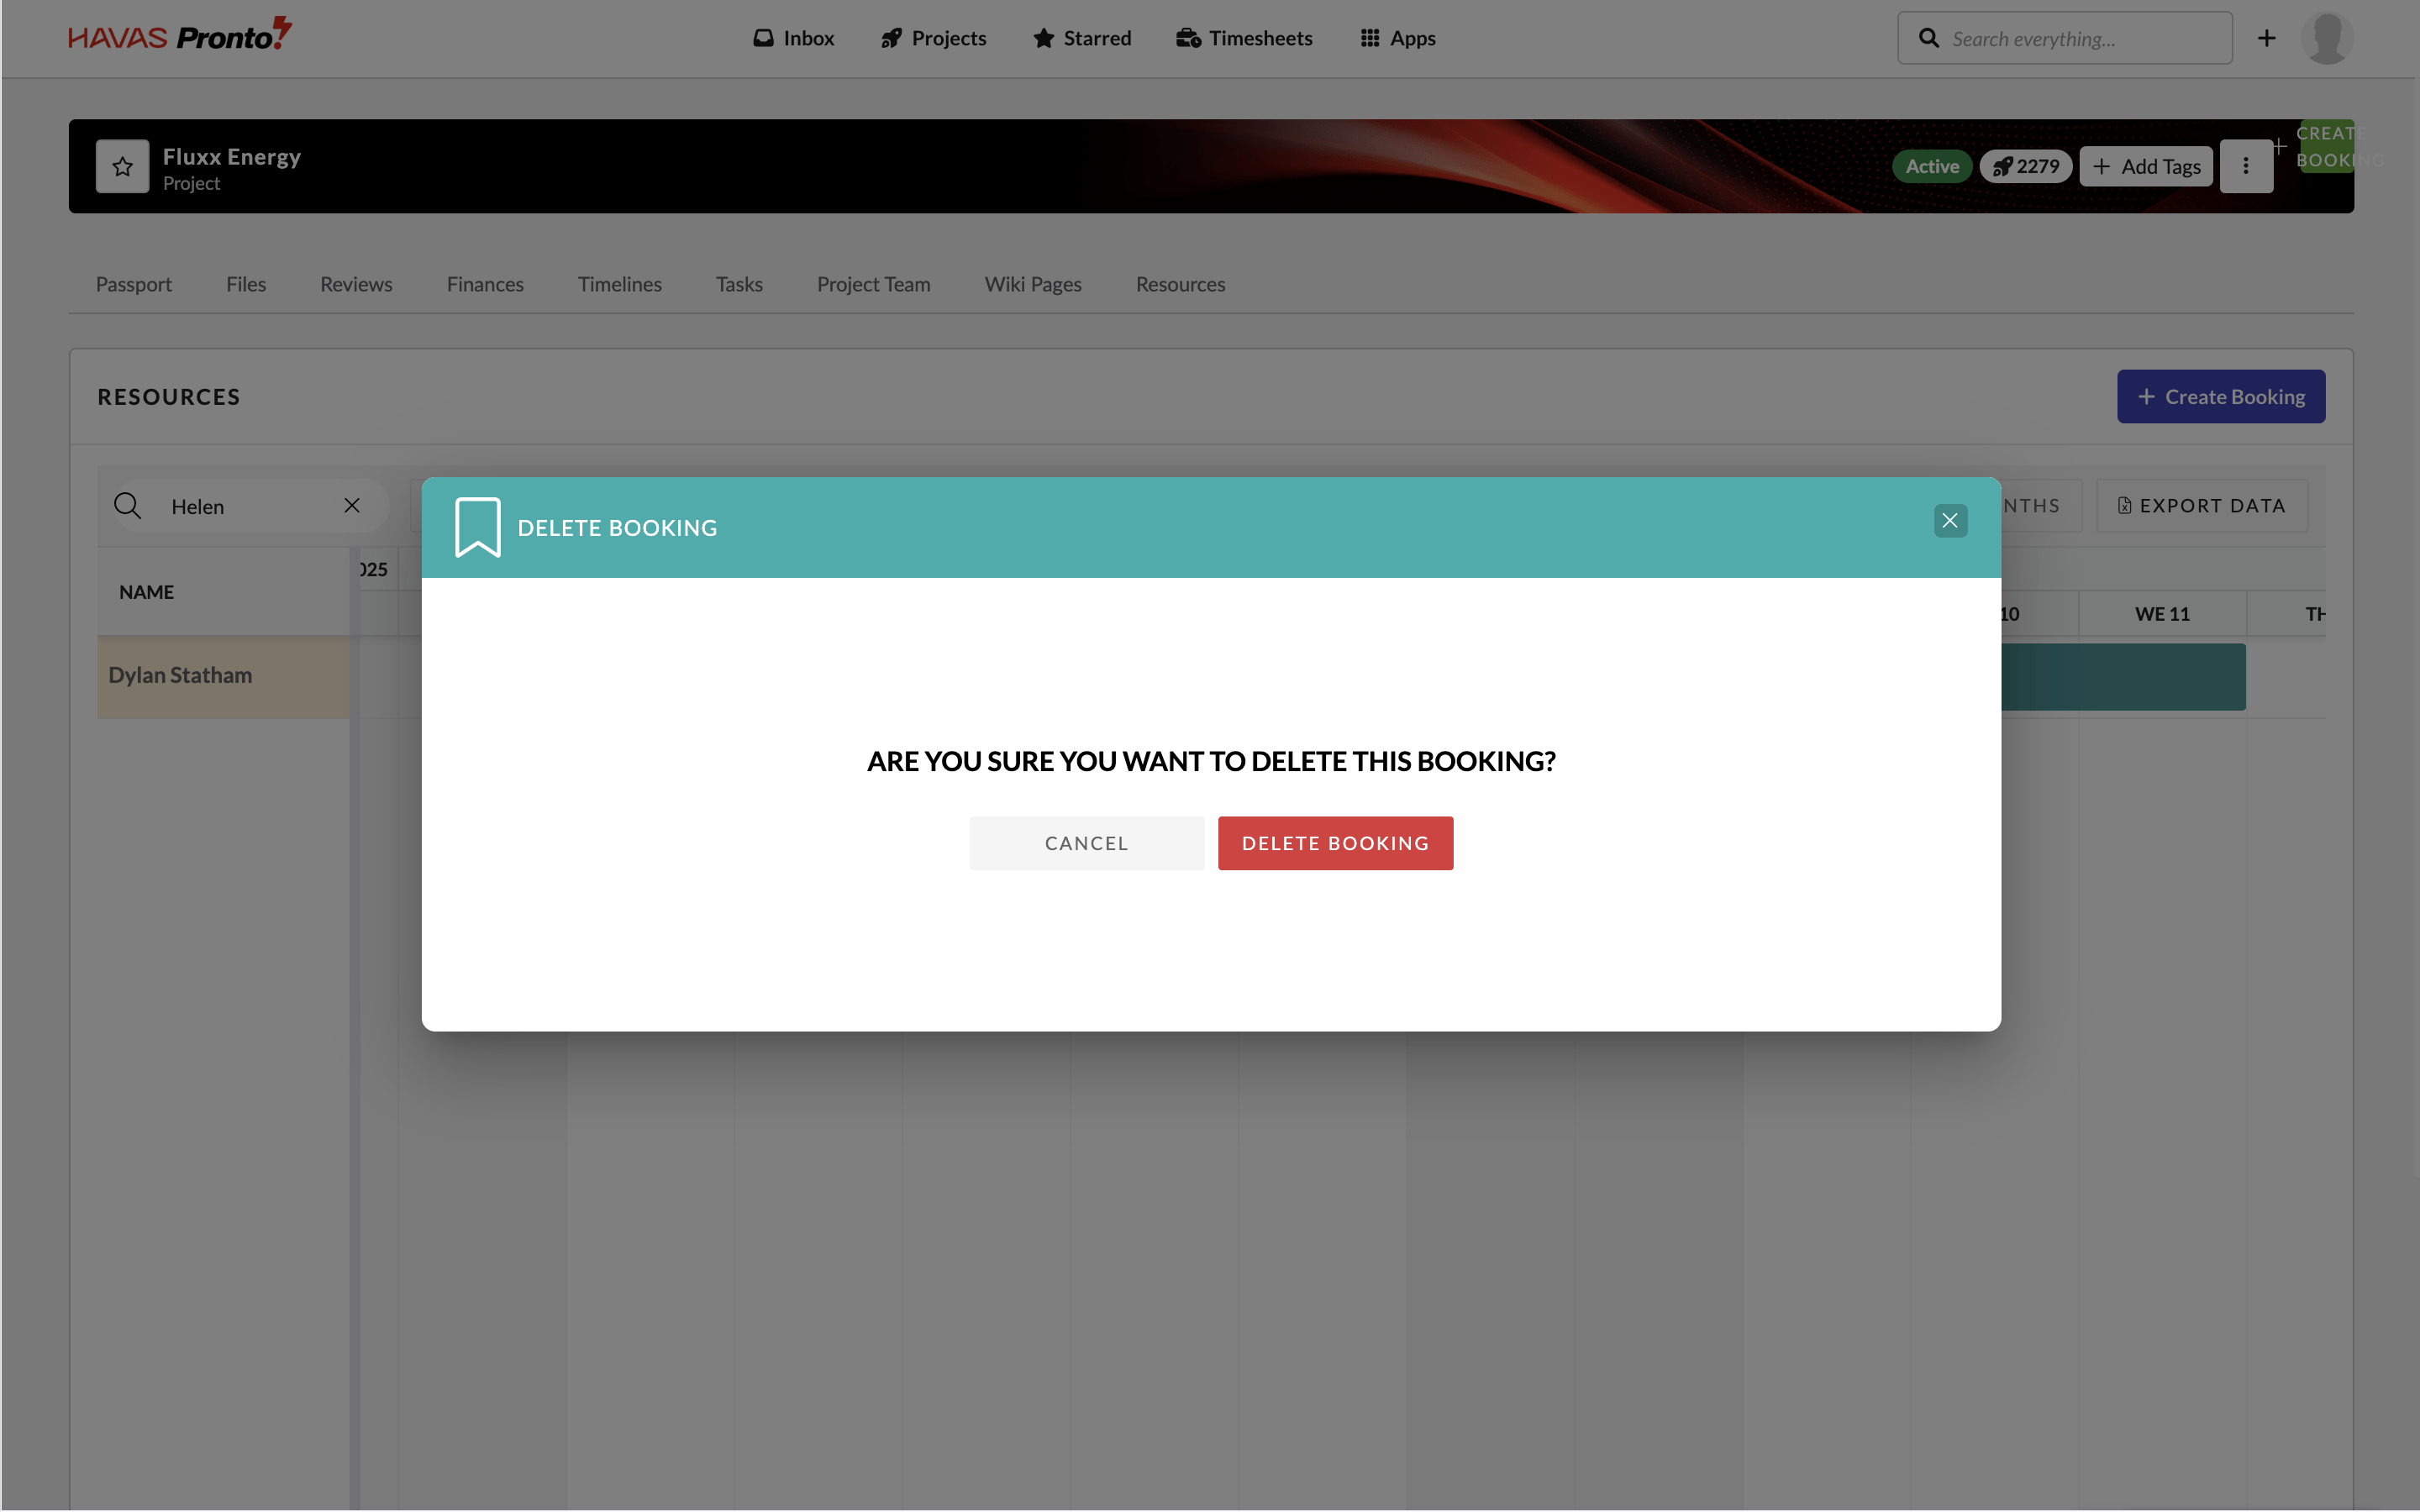
Either way, you’ll be shown a delete confirmation modal.
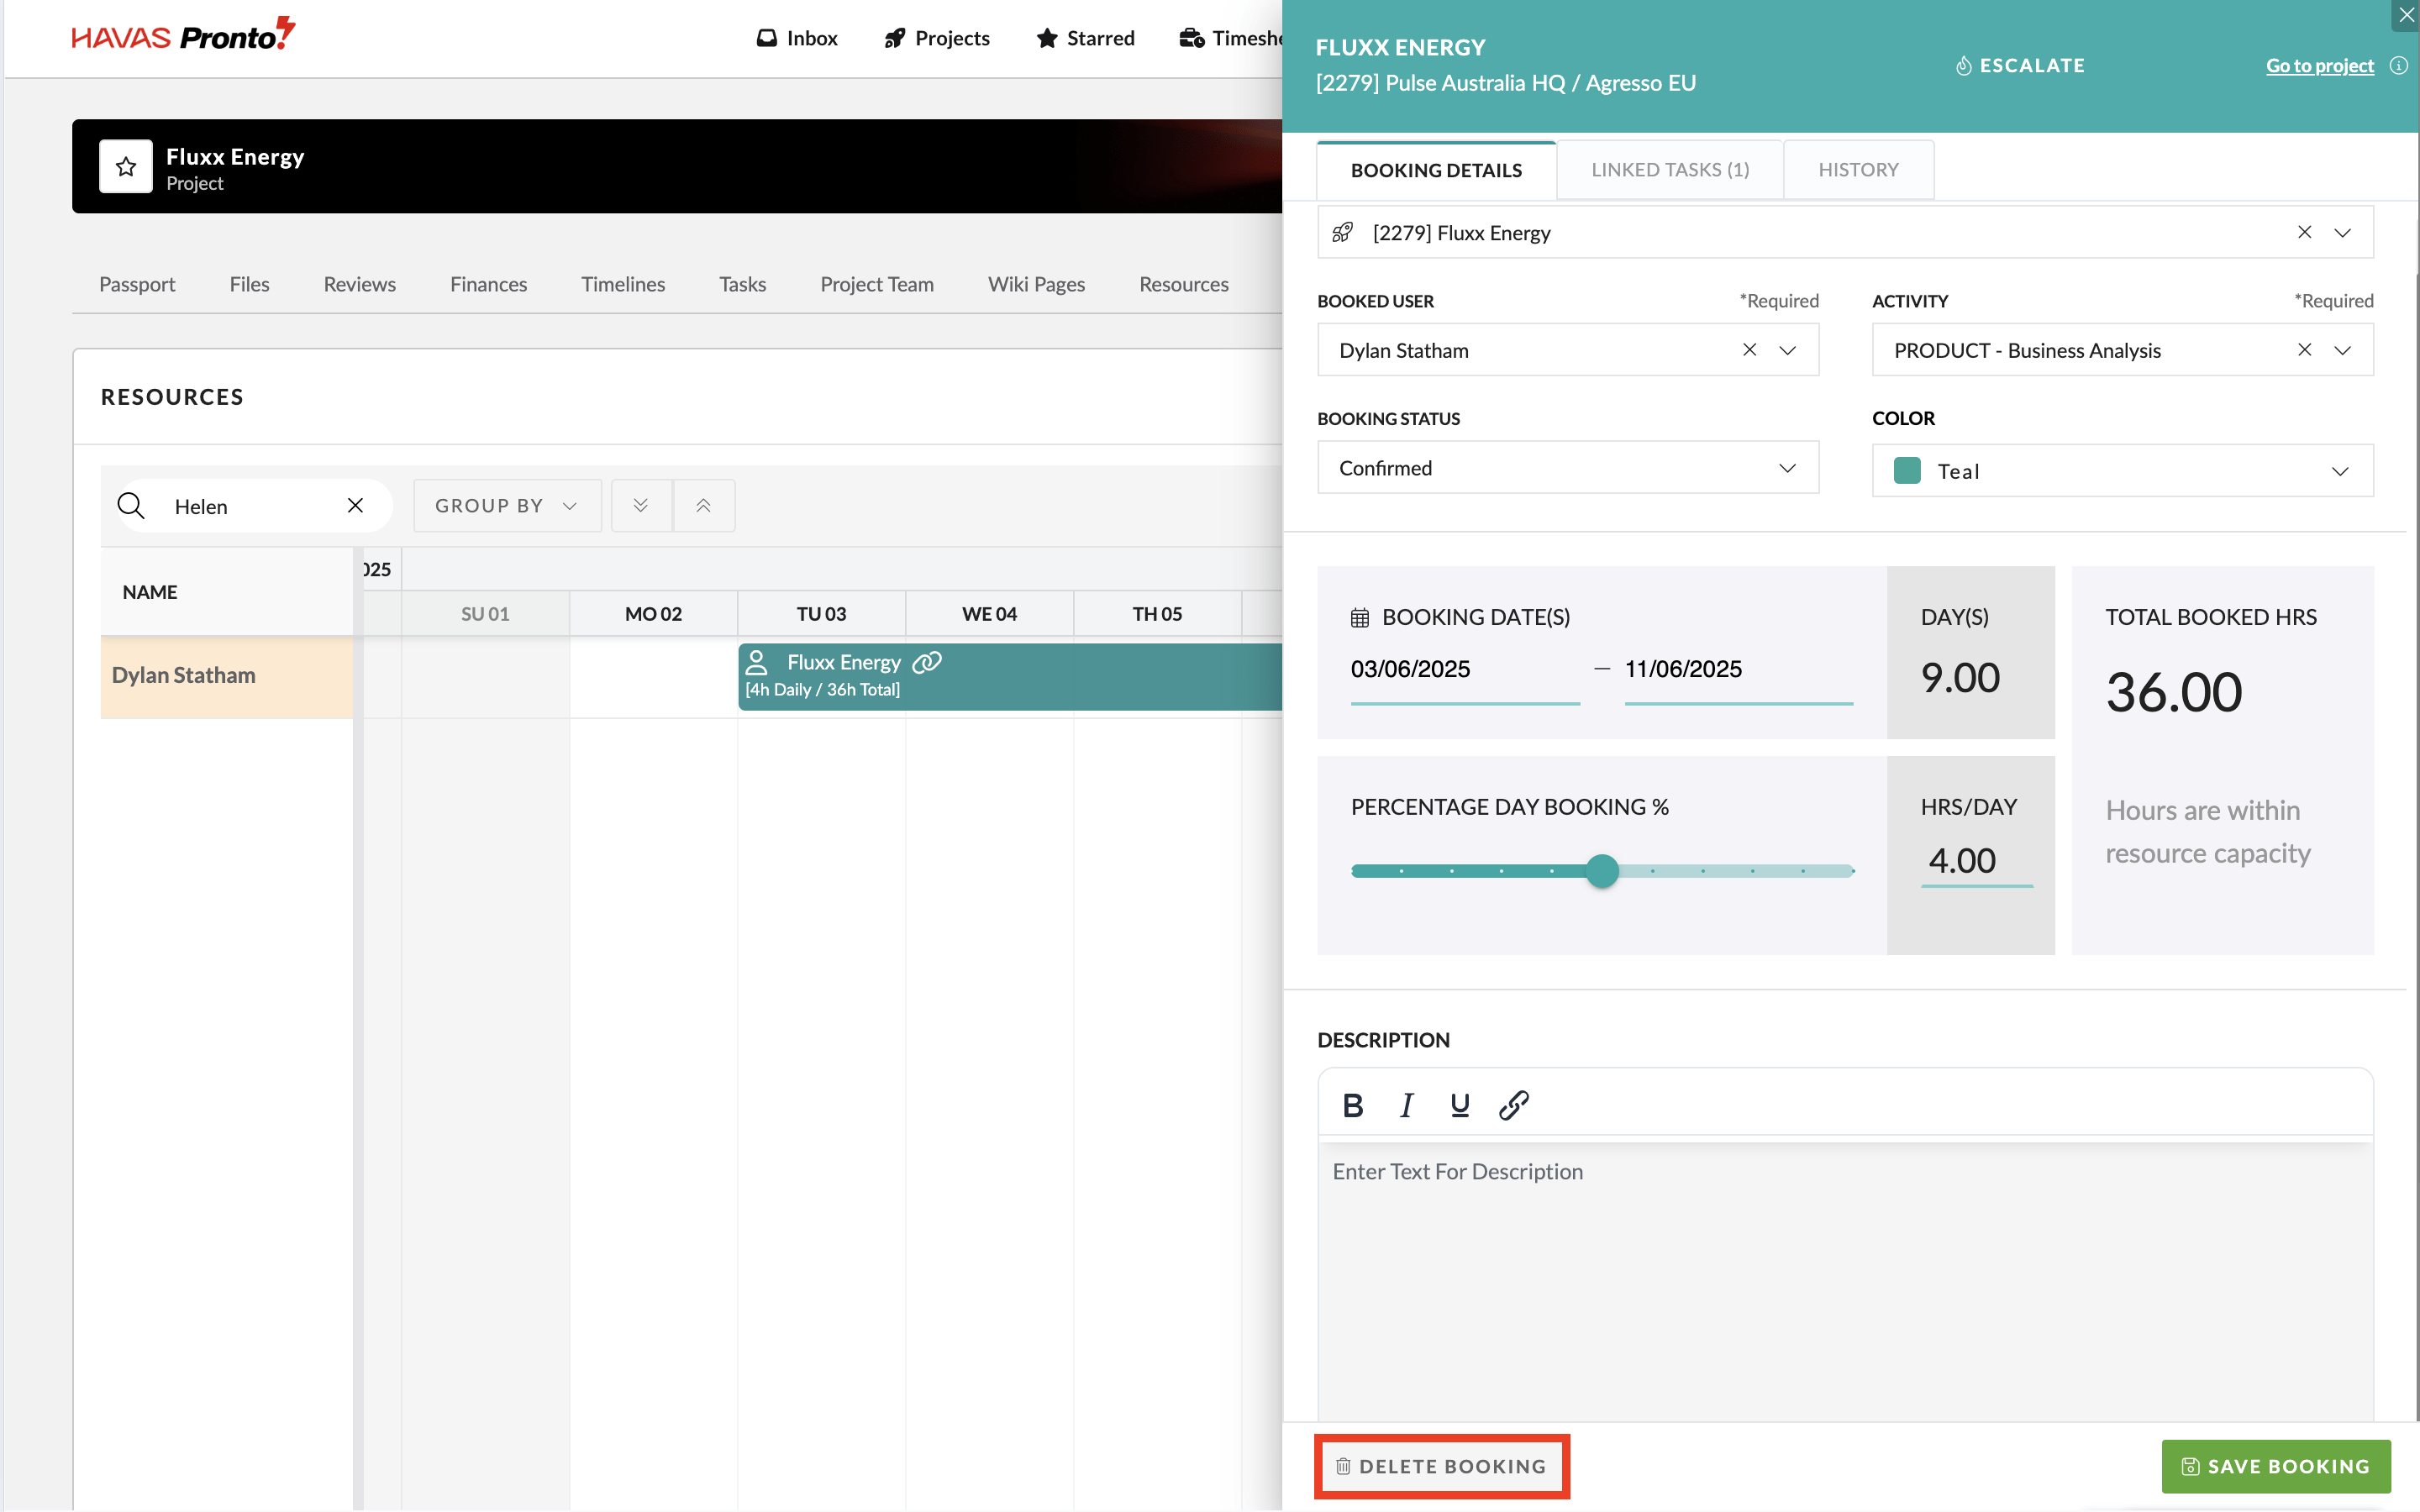
Right-clicking > Edit Booking > Delete booking

Whichever way you choose, when deleting a booking you will see the the Delete Booking Modal
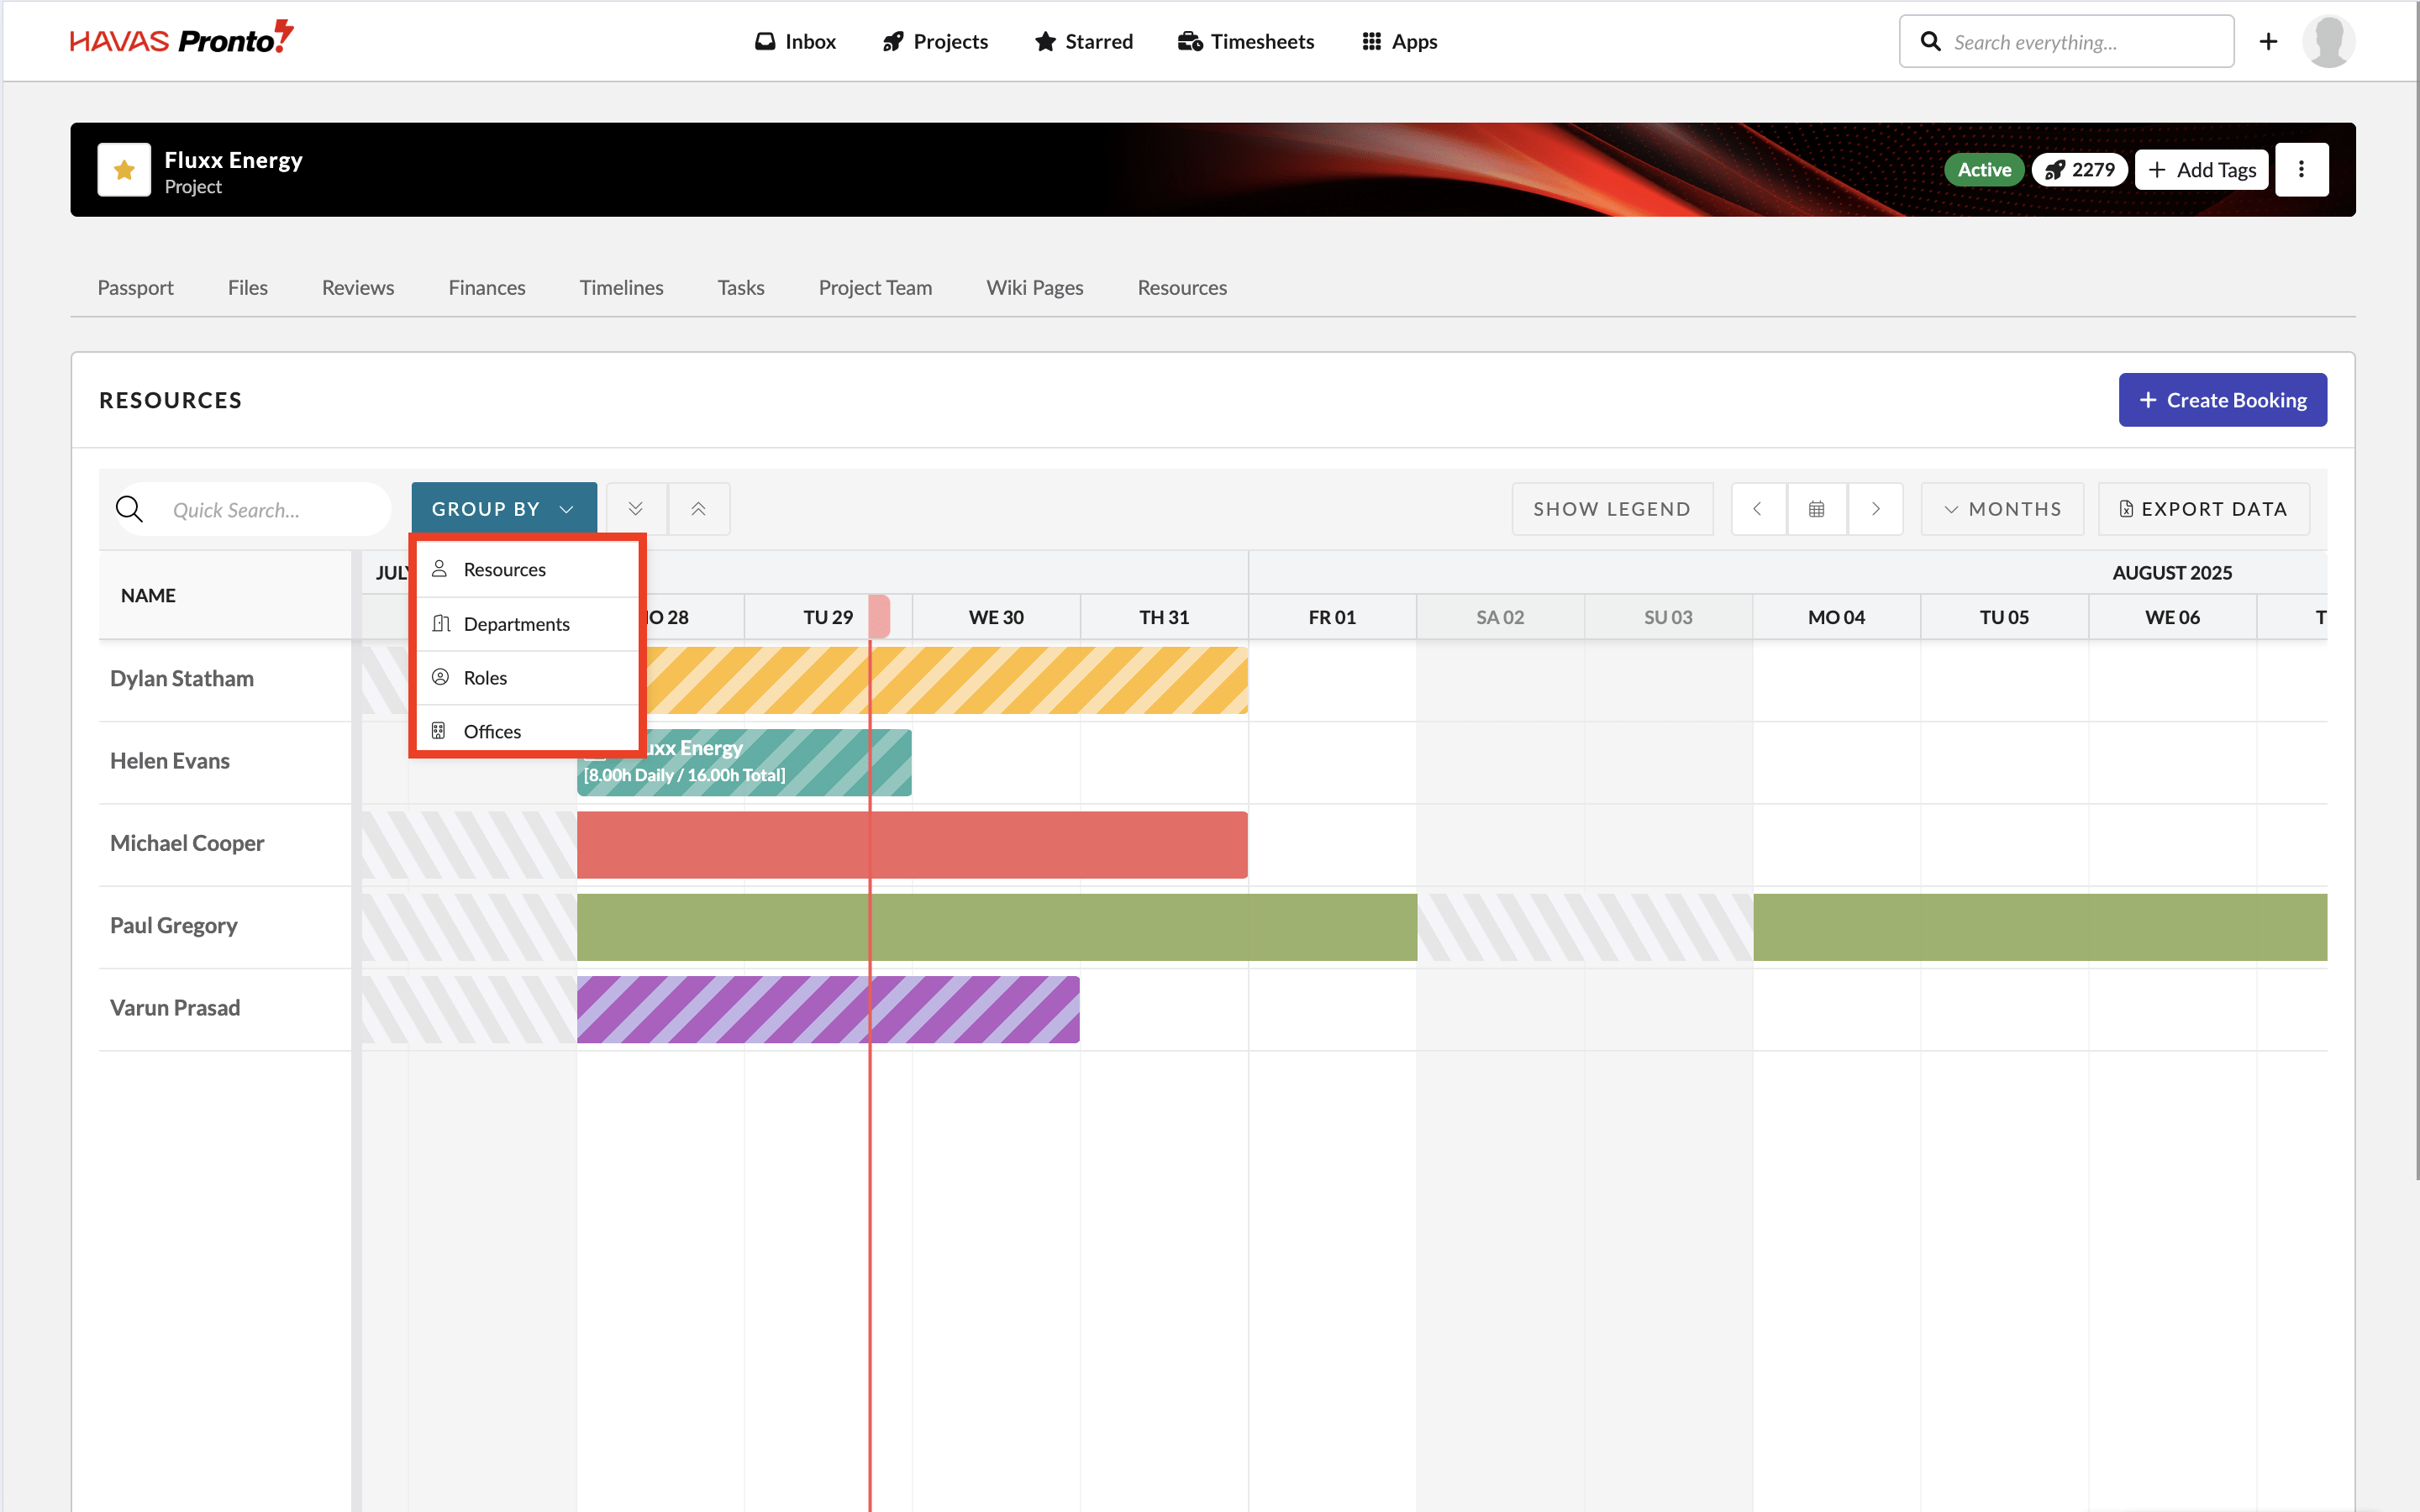
Group by
Use the group by filter to organise the view by:
- Role — grouping by user role in Pronto, based on the Address Book setup
- Department — grouping by teams, based on the Address Book setup
- Office — grouping by Office, based on the user’s primary office
- Resources – shows individuals ordered alphabetically
- Utilization – adds a utilization bar above each individual, so the remaining capacity for each day is visible
- Project – shows only individuals booked to each project
Tip: You can bookmark specific groupings for quick access.
Booking status
Each booking has a status that controls its style in the timeline:
- Confirmed — solid bar, default for users with ‘View and Edit access’ to Scheduler
- Tentative — diagonal stripes on the bar
- Work completed — bar with a ‘checked’ icon
- PTO (personal time off) — yellow block with suitcase icon
- Request bookings — stripped bar, default for users with ‘View only’ access
- Non-charge — blue bar with a cog icon
- Escalated – red bar with a flame icon