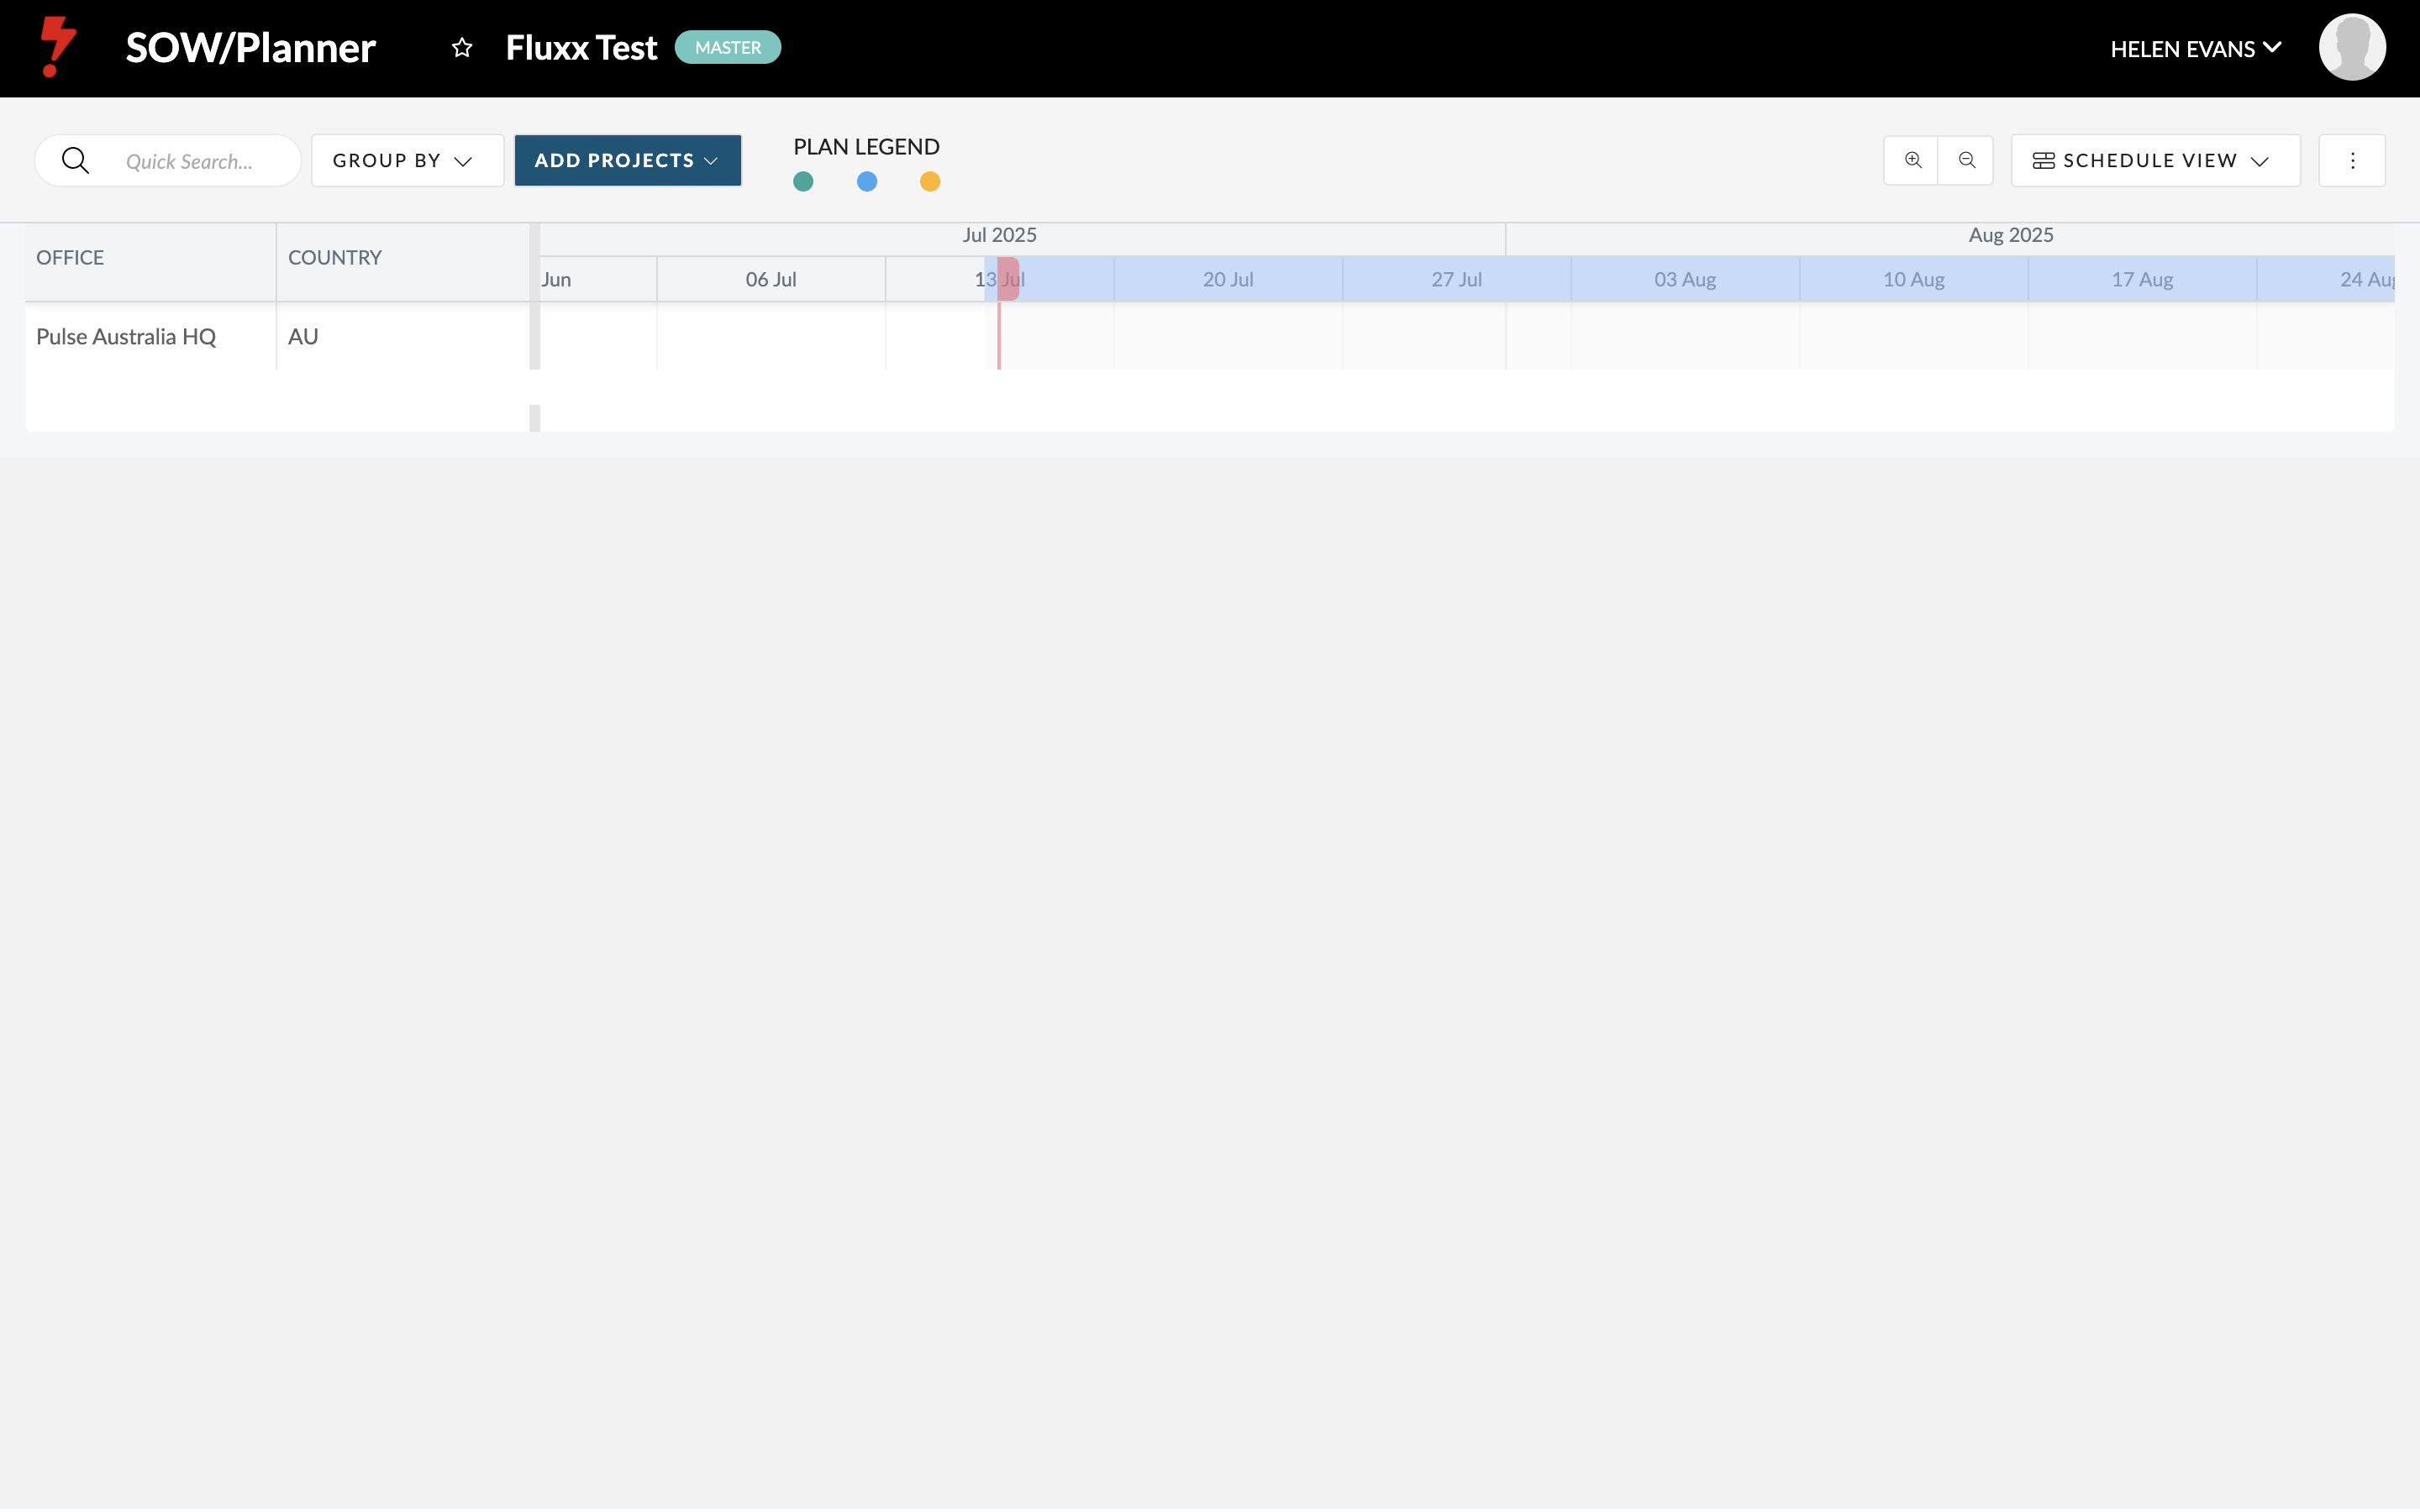
When you first create a plan, it will be empty — no projects are linked yet. To start building out your plan, click the Add Projects button.
You can add projects in three ways:
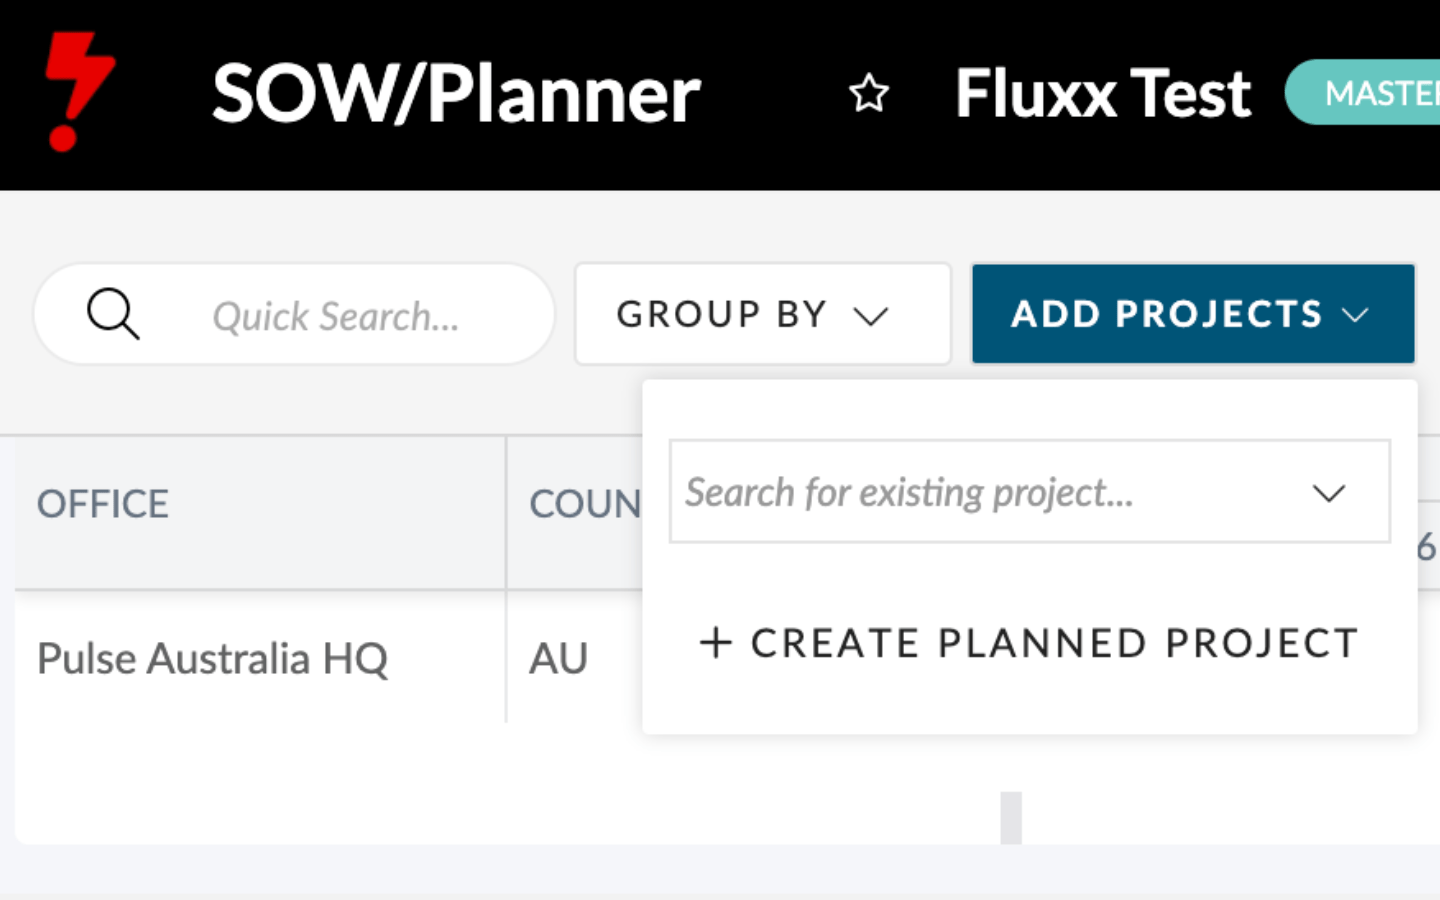
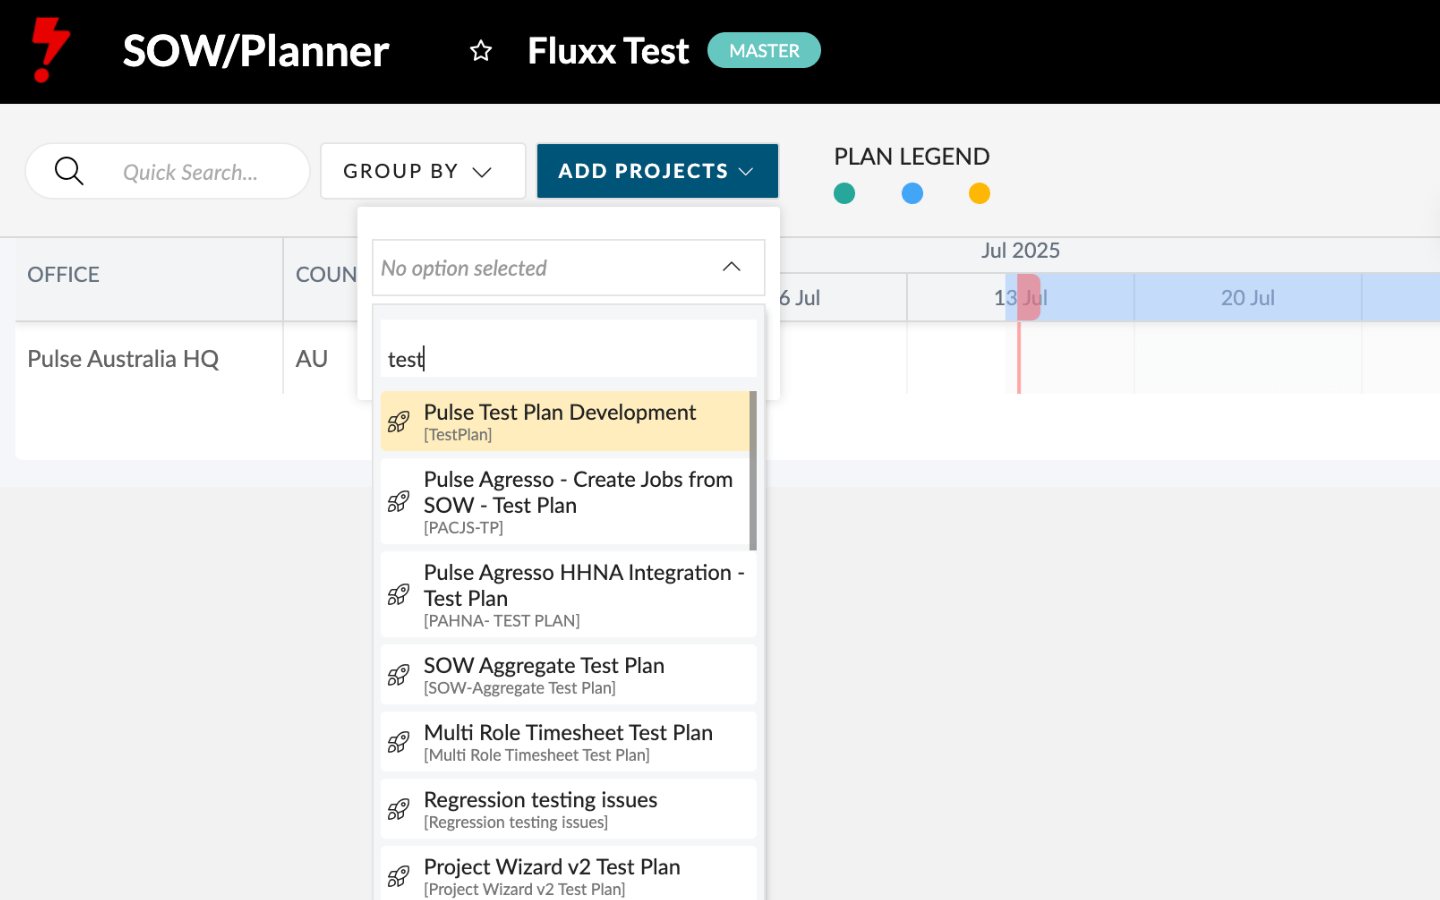
- Add an Existing Project
Search and select from real, active projects already in Pronto. - Drag and Drop on the Schedule
Click and drag directly on the timeline to quickly create a new planned project. - Use the ‘Create Planned Project’ Form
Manually enter details for a proposed project using the form for more control.
How to add Projects to a Plan:
1) Click ‘Add Projects’
Start by clicking the Add projects button in the top-right corner of your plan.
(Note: you’ll need edit access for the plan to see this option.)
2) “Search for an Existing Project”
Use the search bar to find and add existing projects from the system — including any planned projects you’ve created in other plans.
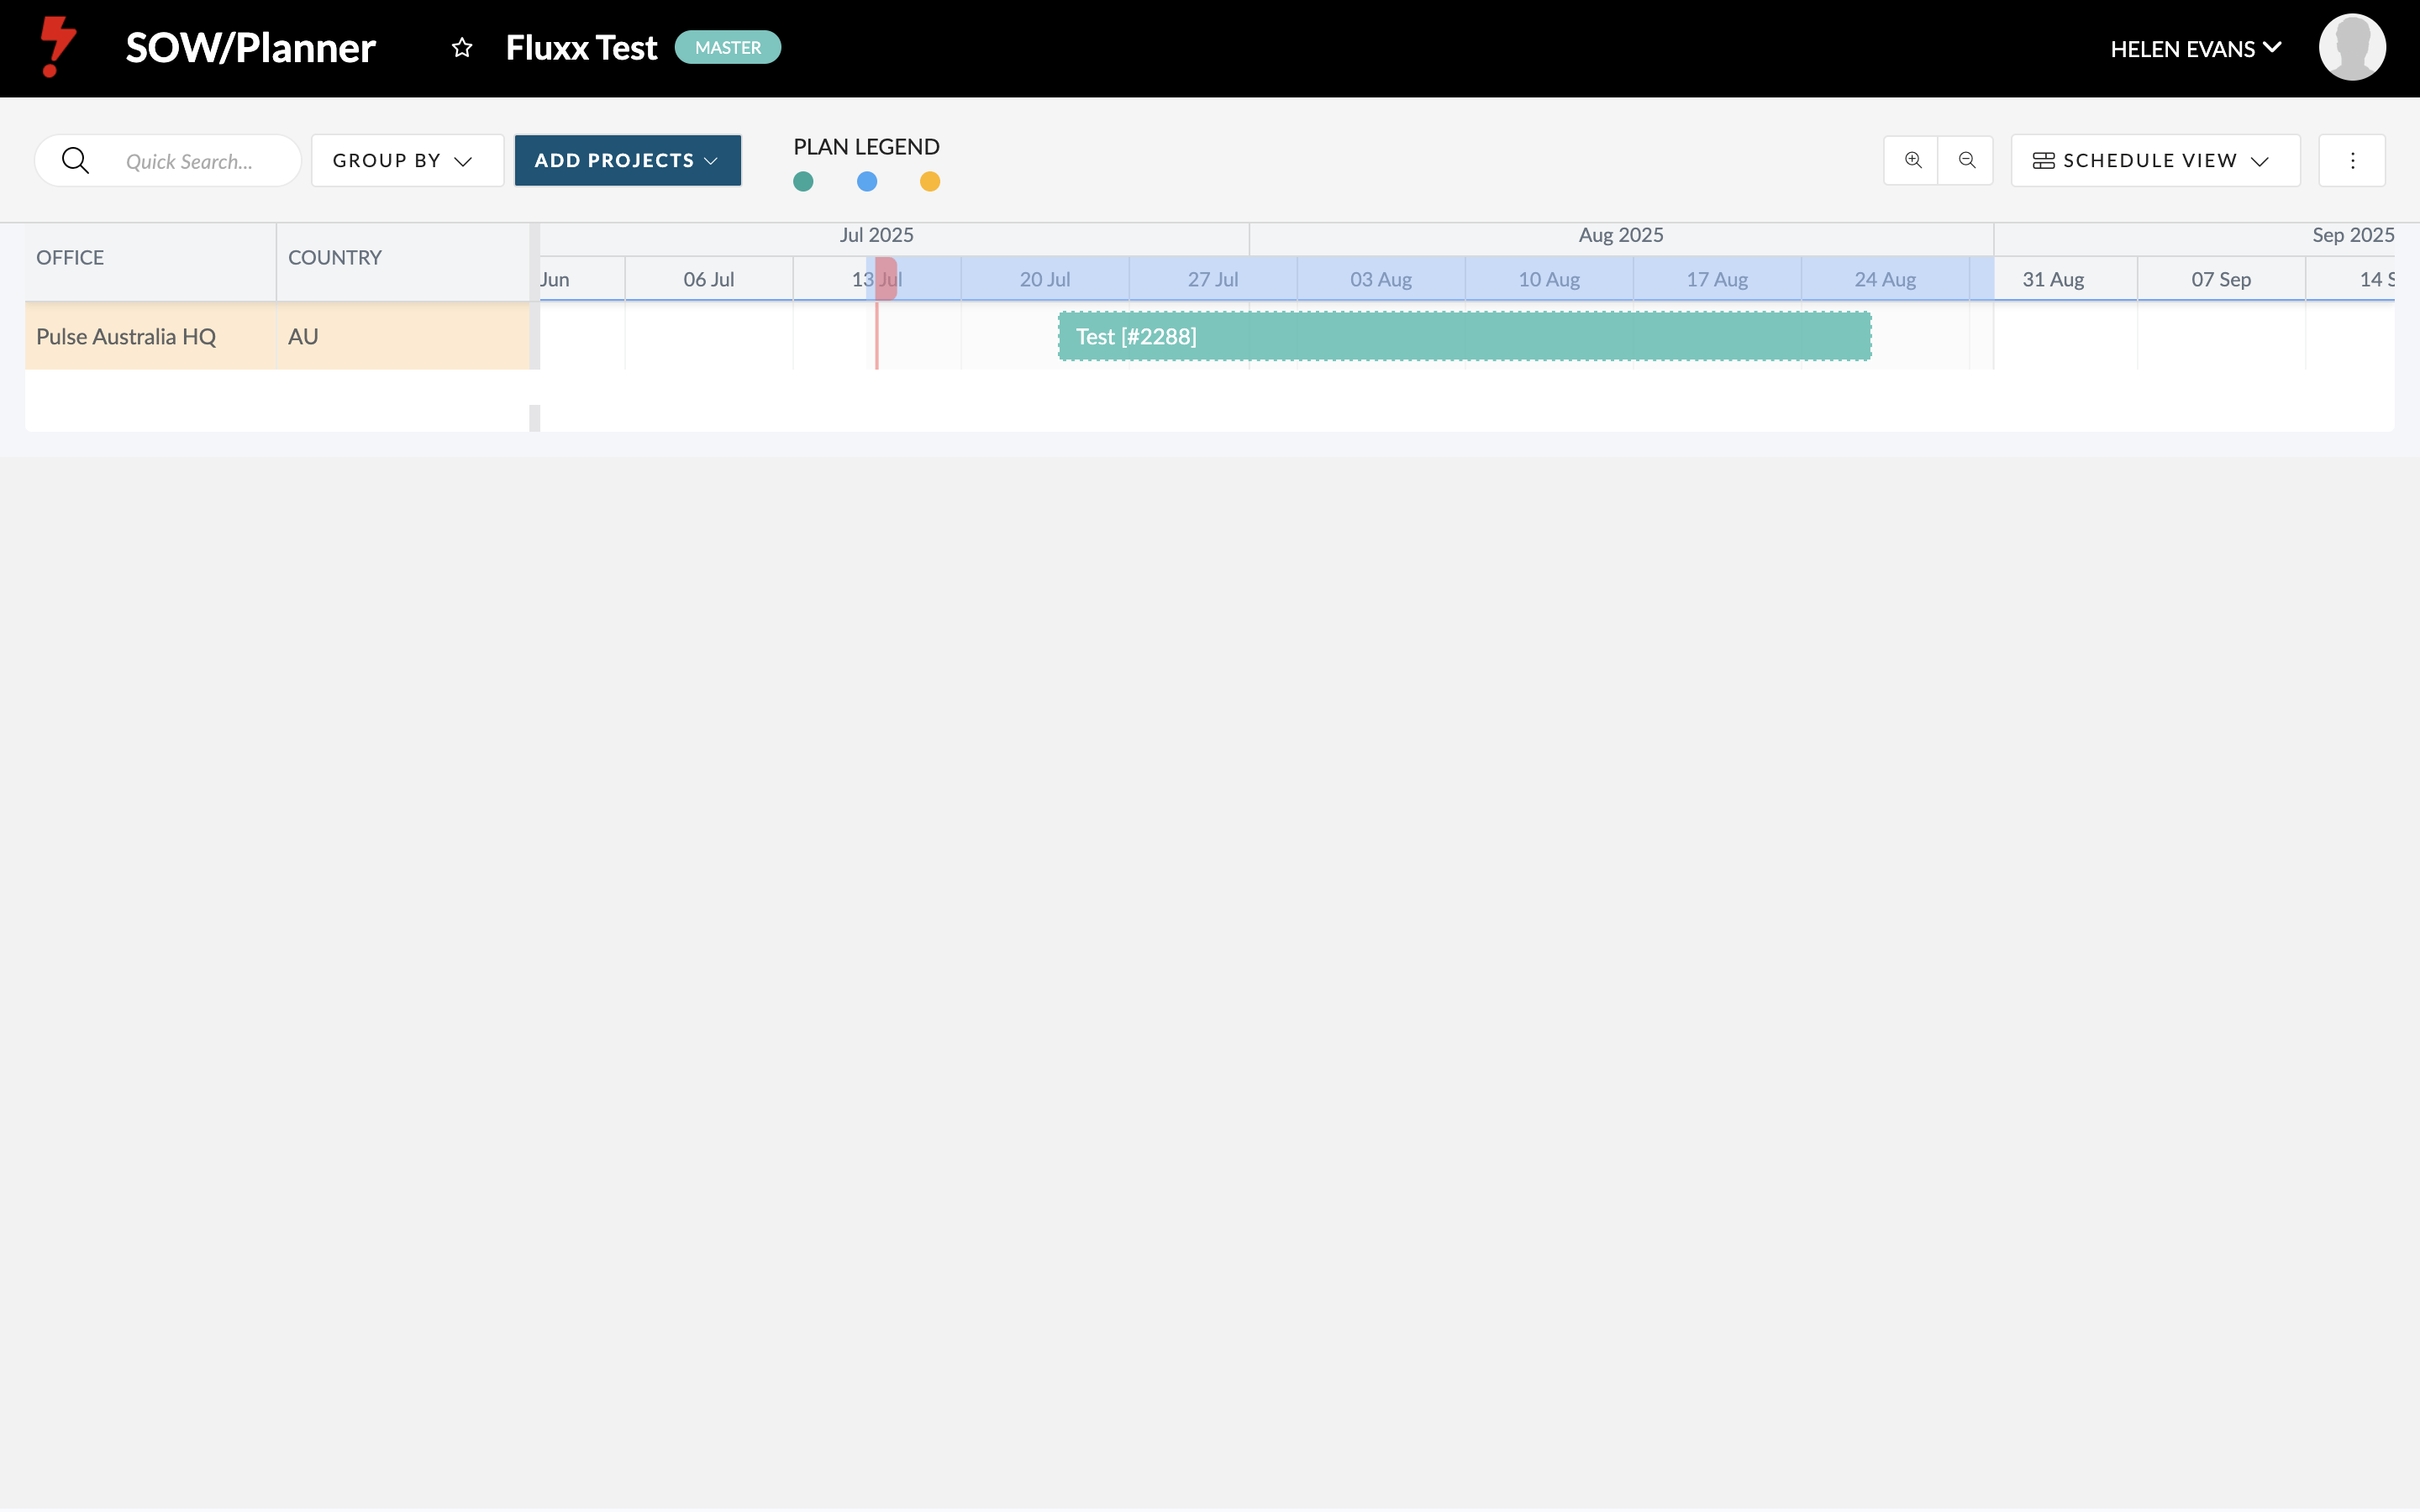
Once selected, the project appears in the timeline as a bar, based on its forecast start and end dates.
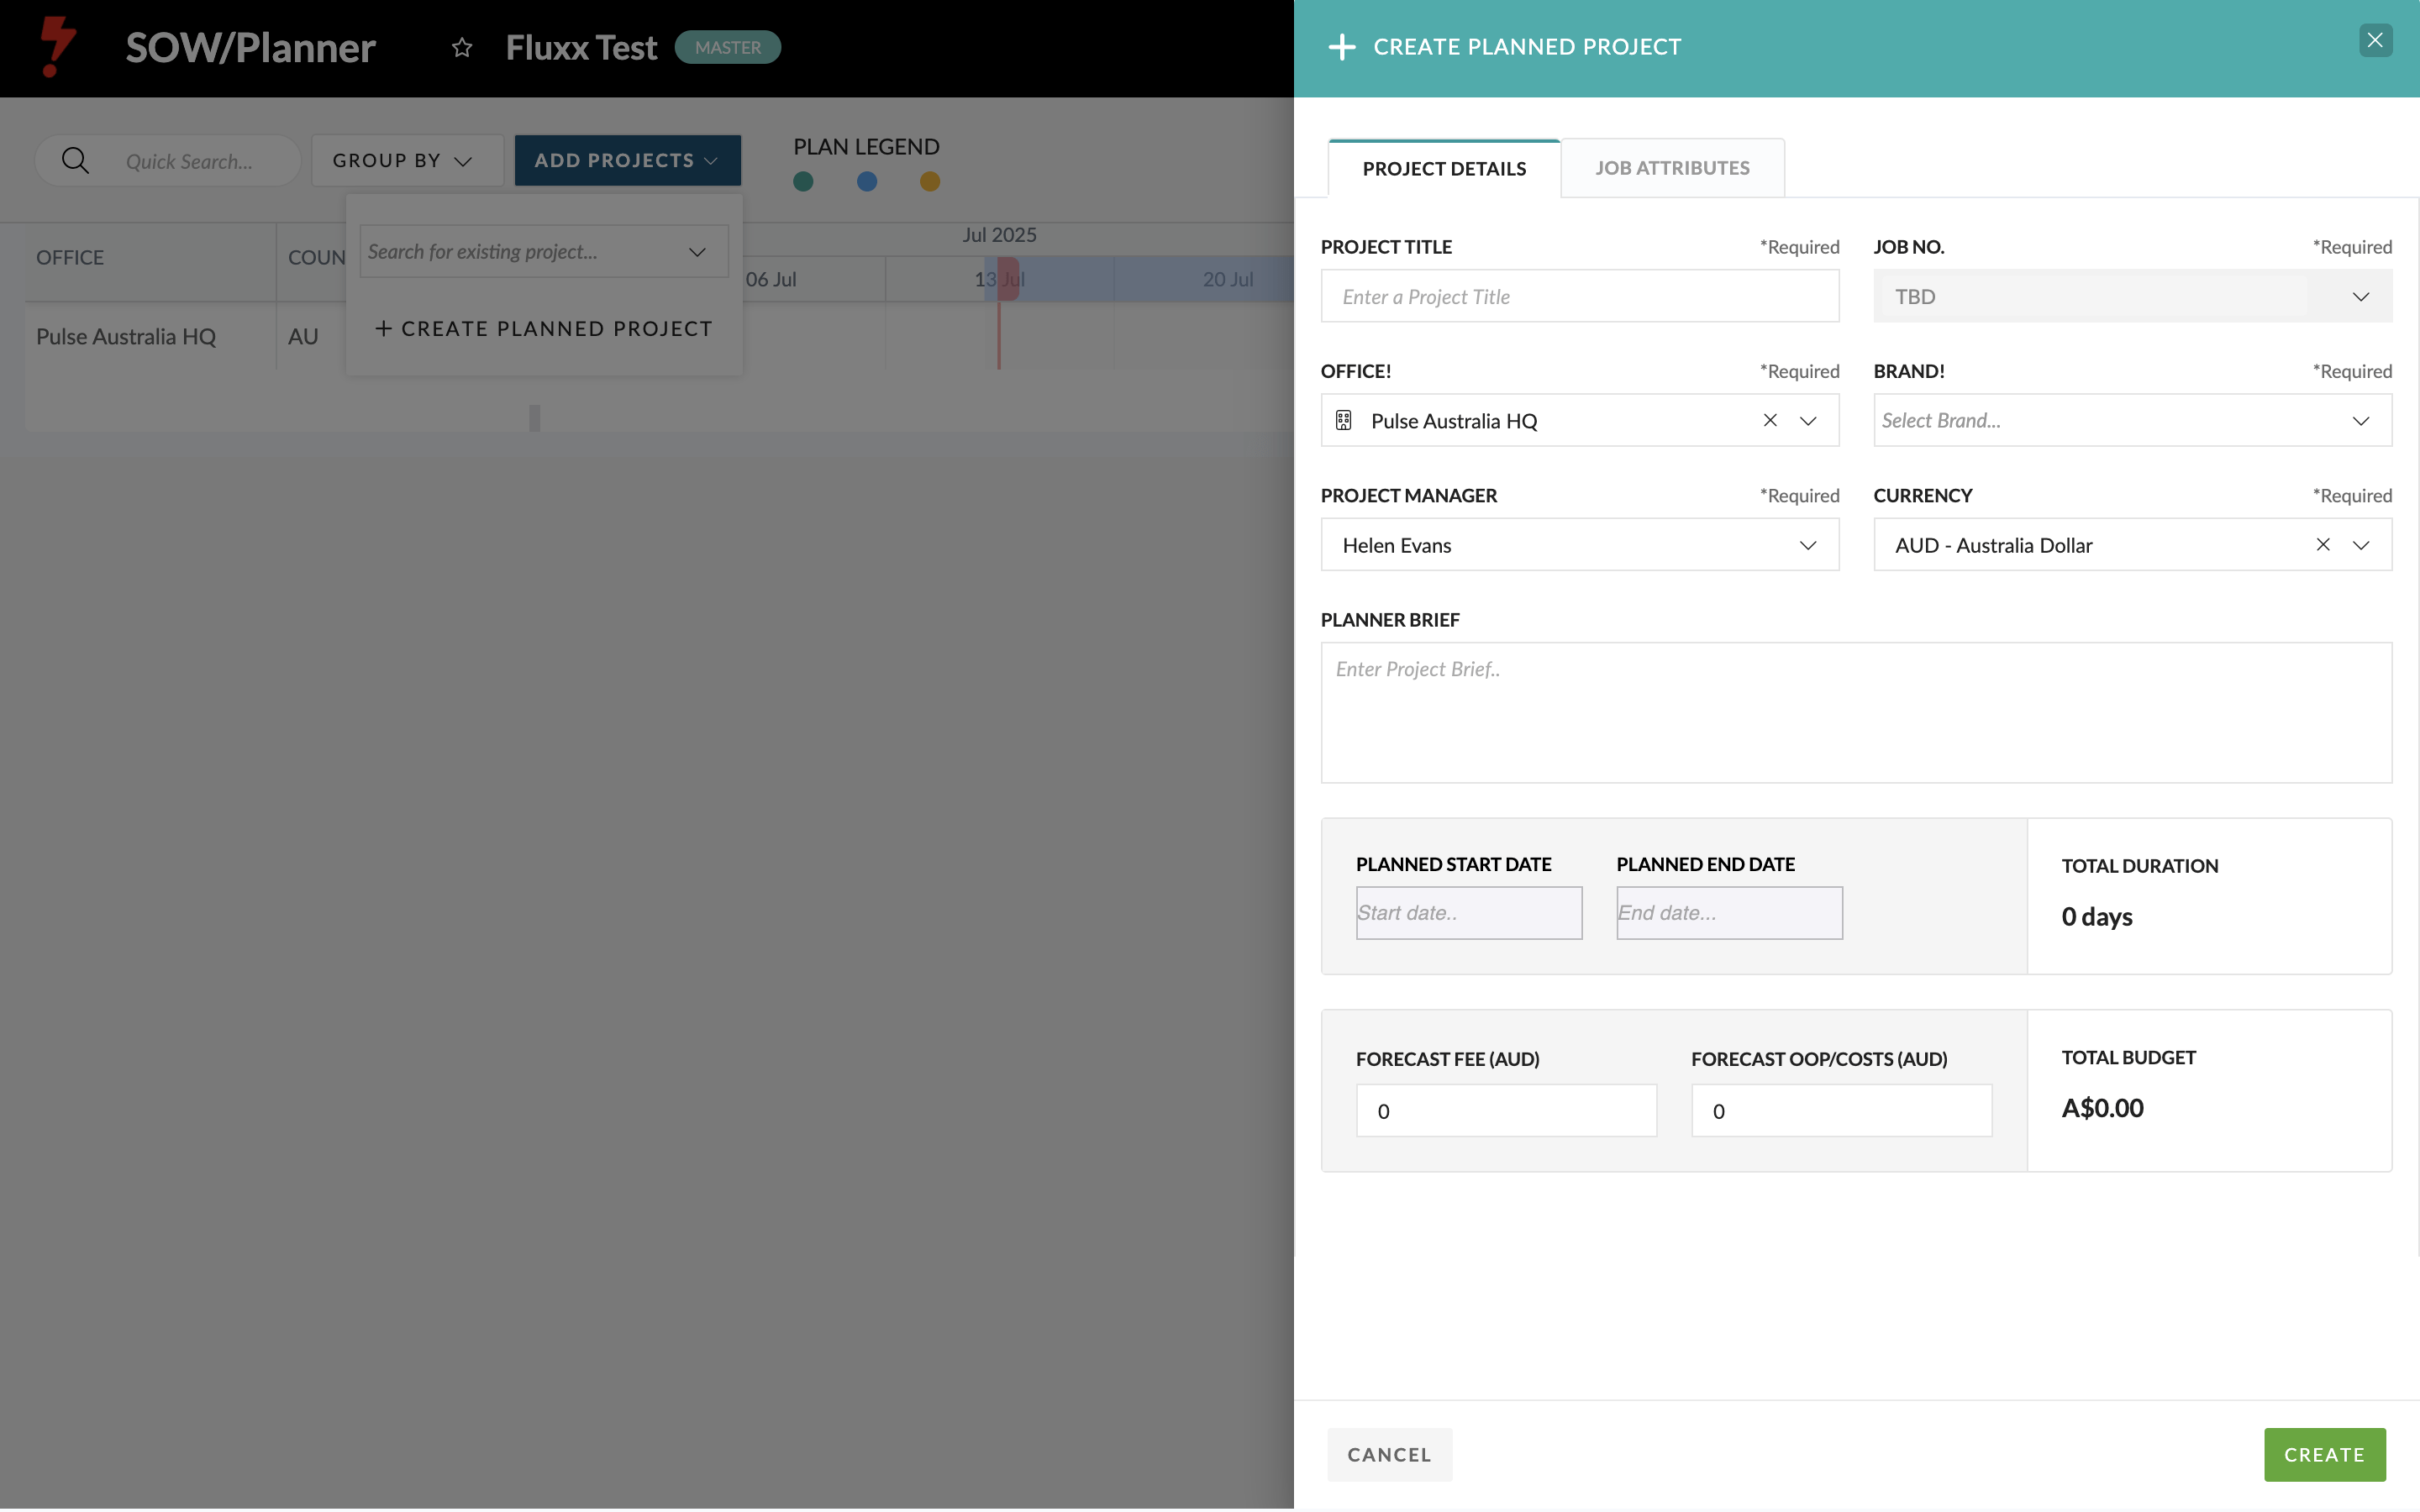
3) “Create Planned Project”
Choose Create Planned Project to launch a form where you can enter a name, brand, office, and start/end dates.
Once submitted, it adds a placeholder project to your plan – useful for mapping proposed work.
4) Click and Drag to Create a Planned Project
On the schedule timeline, click and drag to quickly create a new Planned Project.
This action opens the same form as above, with dates auto-filled based on your drag range.
Auto-Save
You don’t need to manually save – all updates (timing adjustments, added projects) save automatically.
Use Save As if you want to make a duplicate or create a new version of the plan.