Once your Timesheet Activities are set up, your team is ready to start logging time in Pronto.
Using the Timesheet Tool
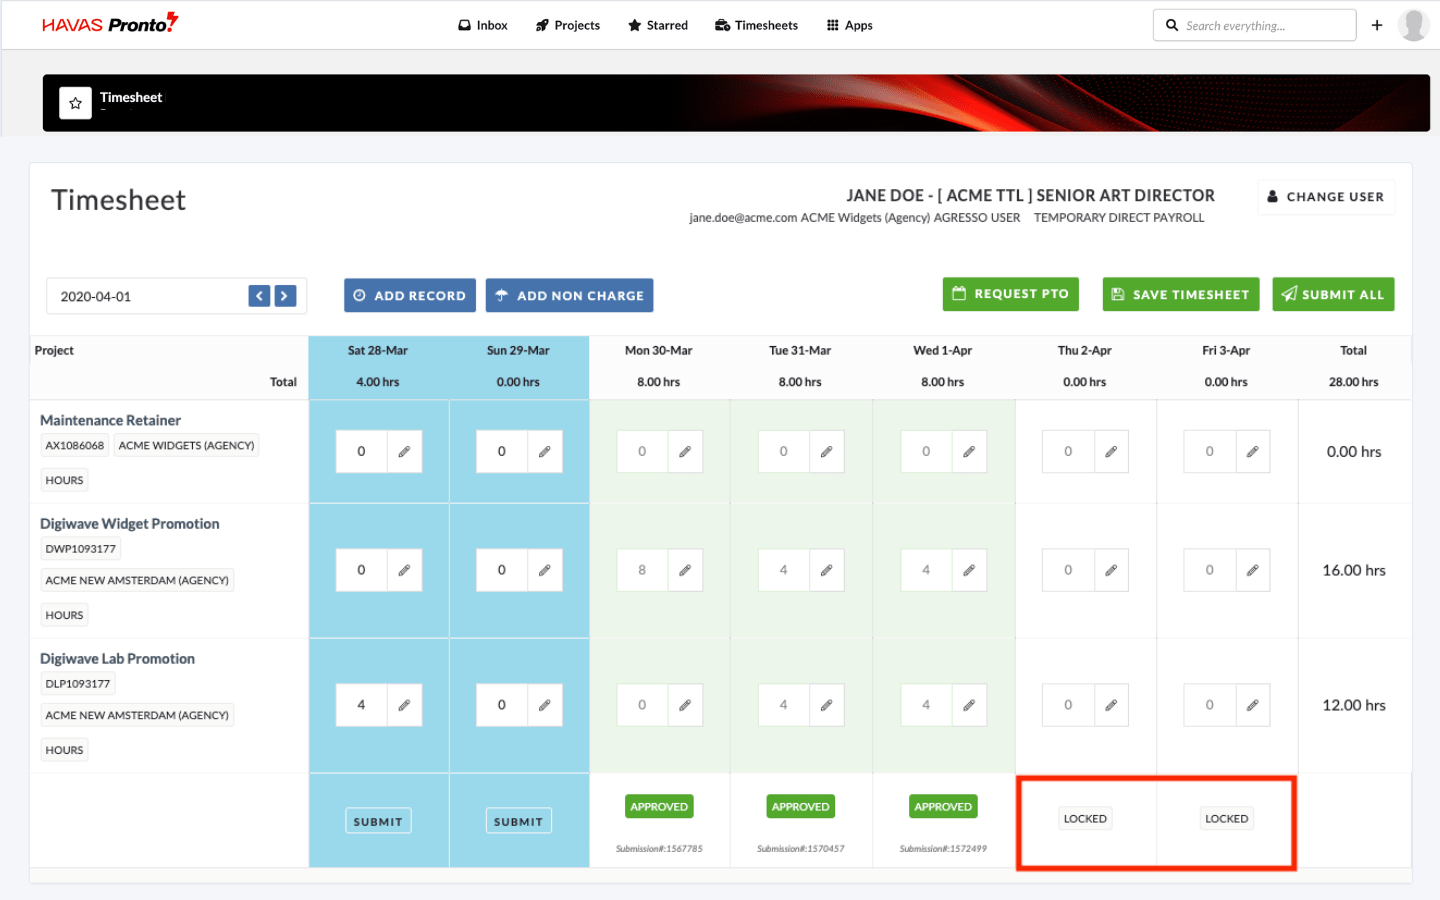
To record and submit time, users must go to the Timesheet section via the main navigation.
To add and record time against a Project:
- Use the Date Picker to choose the Week to add time.
- Time in the Timesheet Tool is managed on a Weekly Basis.
- If the logged-in User has the “Allowed to do other people’s timesheets” permission- typically assigned to Timesheet Delegates, Ops, PMs, or AMs, depending on office settings they will see the option to Change User.
- Selecting this option refreshes the Timesheet view for the chosen User.
- This will refresh the Timesheet view for the selected User.
- Click ‘Add Record’
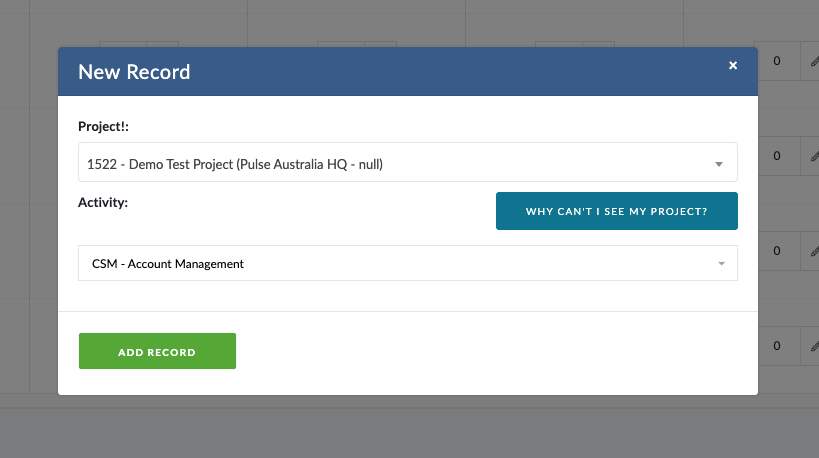
- A Modal window will show, with the option to select a Project and an Activity.
- Choose a Project using the ‘Search’ field.
- Note: If the Project you are looking for does not show, click ‘Why Can’t I see my Project?’ Button. (Read the ‘Eligible Projects’ section below for more information).
- If there is an option to choose an Activity (which will appear if you have more than one) – Choose an Activity.
- Note: If the User account is linked to a Default Activity, the User will NOT have the ability to choose and Activity.
- Note: If the Project Office is configured for Multi-Role or the Project is setup for Global worker, it is possible that a User will have multiple options for ‘Activity’ when recording time – even if they have a Default Activity configured in Agresso.
- Click ‘Add Add Record’
- This will add a ‘Row’ to the Timesheet, with the combination of Project and Activity.
- The User can now add time for each day – on that row.
- For each day, it is also possible to record ‘Notes’ for the Project/Activity combination.
- When the User has added Time to a row(s), they must click ‘Save’ to save the data.
- At the end of the Week, when all Time is recorded for the Week, the User should click ‘Submit’.
- Note: Some Offices will require Daily Submission of Time.
- Note: The time can be changed via a timesheet “Amendment”. Once a Timesheet is Submitted, the Time cannot be changed – unless the Timesheet is rejected by the Timesheet Approver.
- When the Timesheet Data is Submitted, the Time will go into the Timesheet Approval process.