The Project Wizard is a multi-step form that guides you through creating a Project — with the right workflow, settings, and team structure.
Most of the time? No training needed.
Just follow the steps — it’s designed to be intuitive.
As you fill in each page, Pronto will update the next steps automatically based on your answers, so you only see what’s relevant.
If you want to understand what happens behind the scenes as you move through the Project Wizard, here’s a quick breakdown of each step:
| Step | Screengrab | Title | Description |
|---|---|---|---|
| 1 | 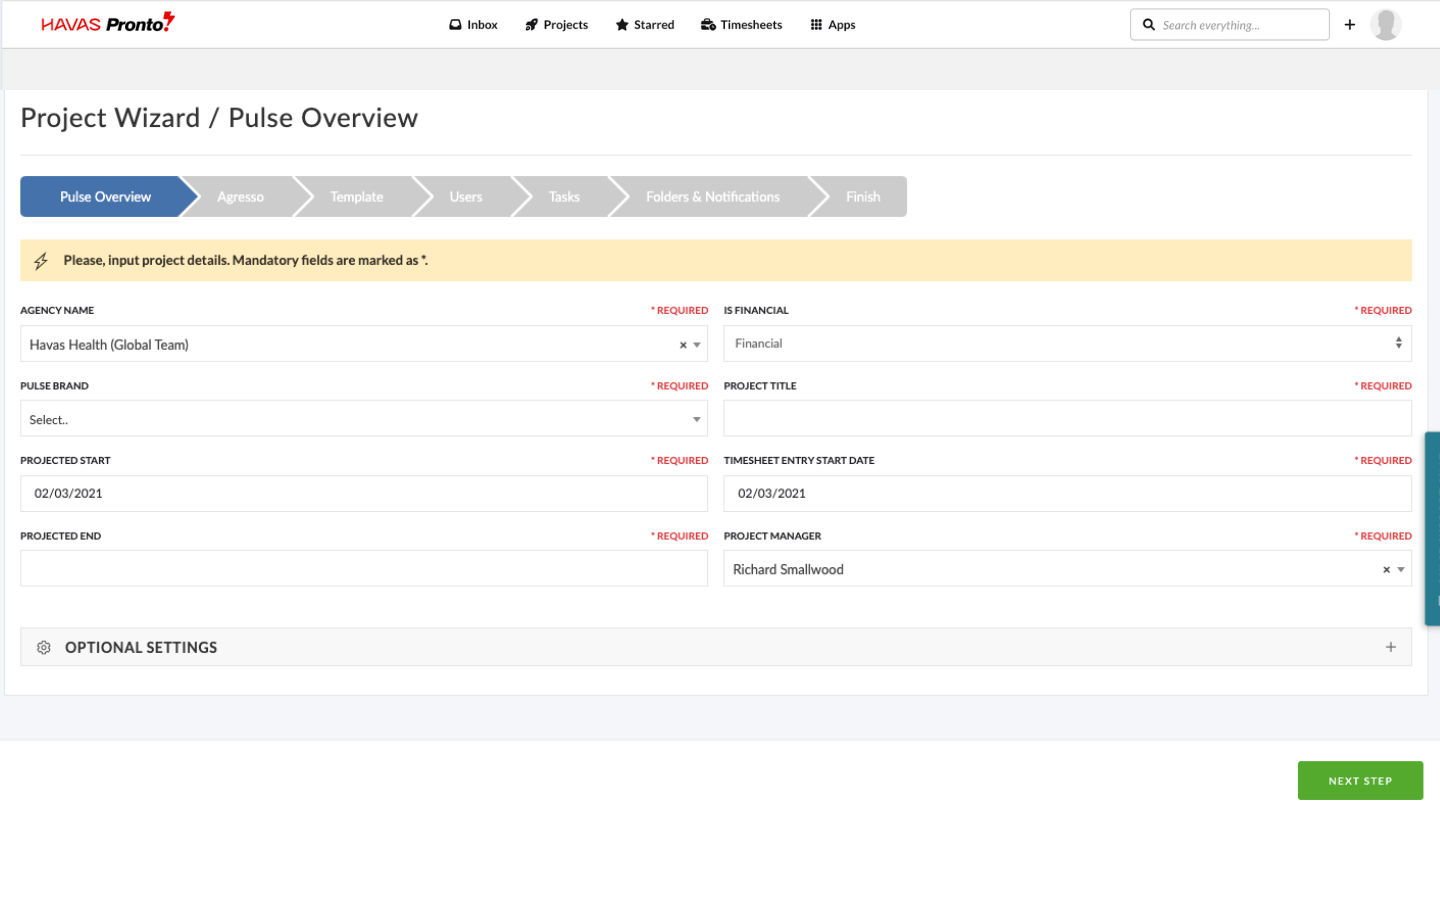 | Basic Project Details | Enter the basic information for the Project, including: – Project Title – Project Manager – Office Location to complete the work. – Assign the Project to a Brand – Forecast Start Date – Forecast End Date – Project ‘Type’ |
| 2 | 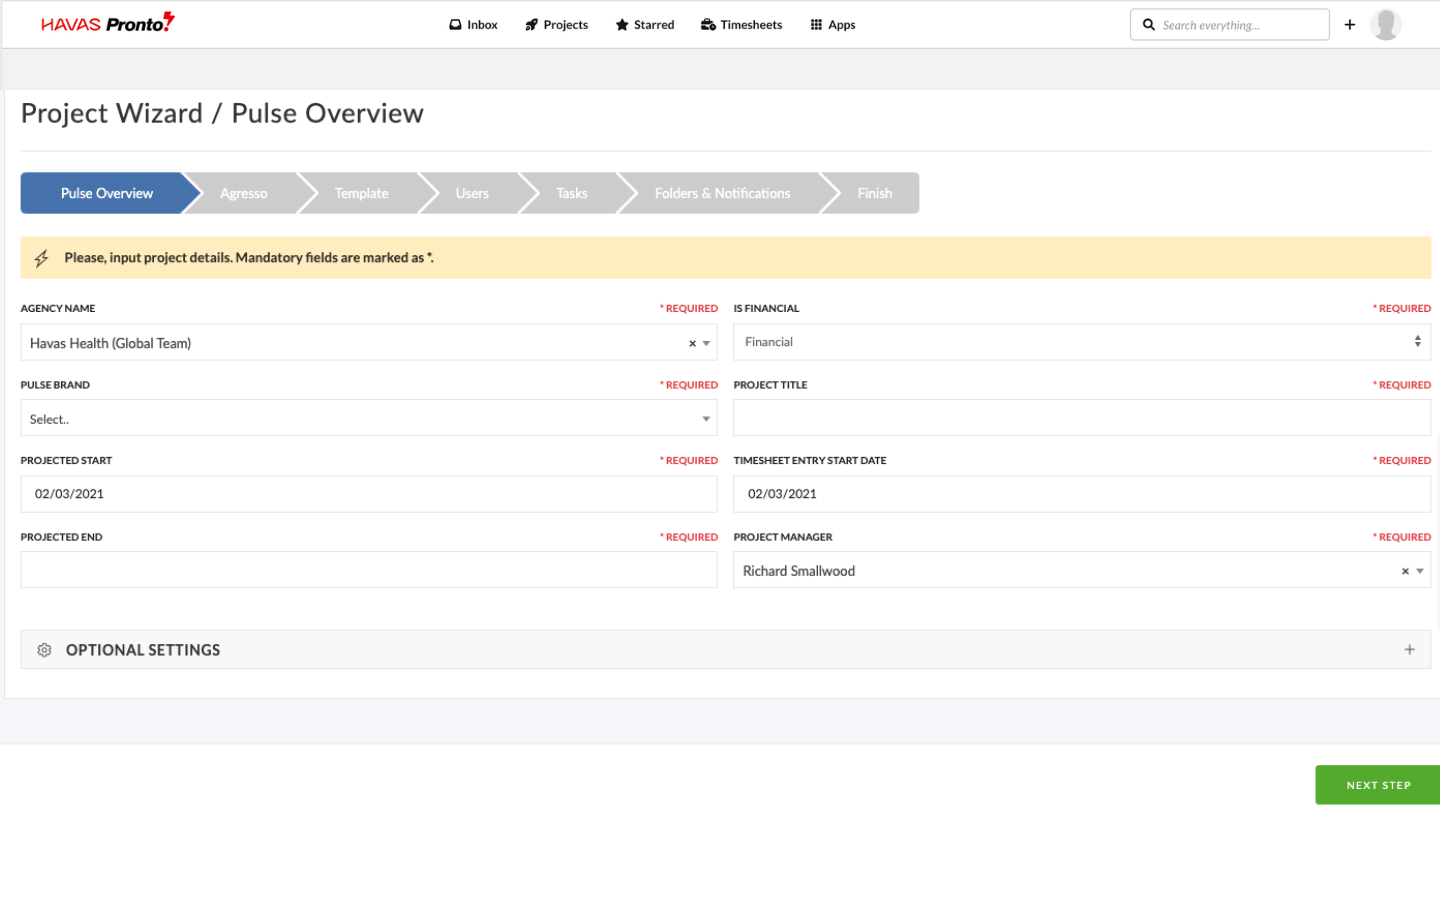 | Agresso Finanical Details | This step appears only if your selected Office uses an Agresso finance profile. You may see: – Custom finance questions – Pre-filled defaults (if set up in the Office’s config) Learn how to set these defaults in the Address Book – Advanced Settings. |
| 3 | 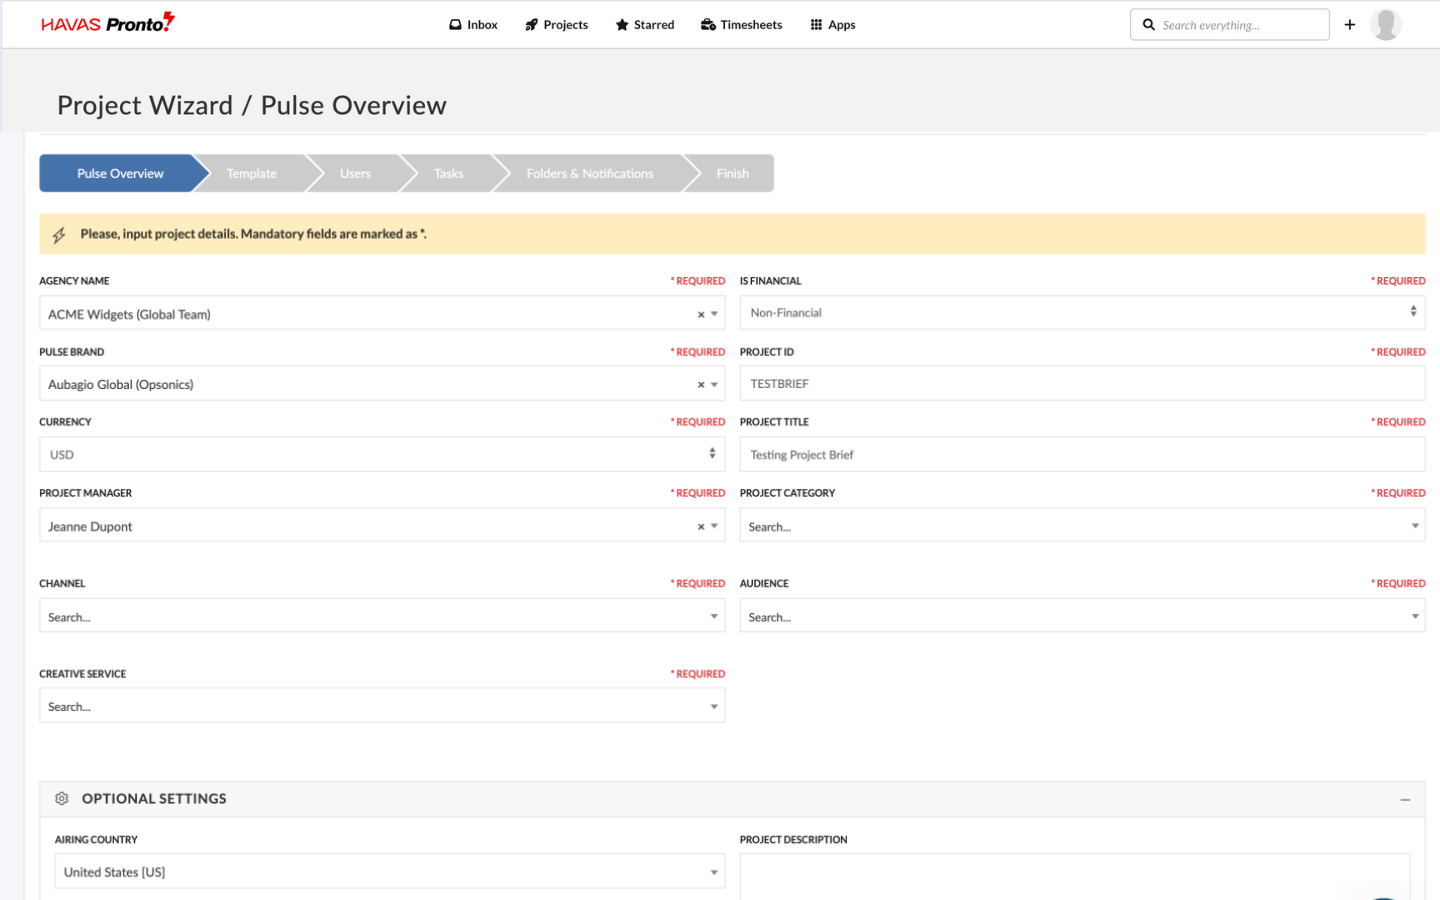 | Project Template | Choose a Project Template to kickstart your project setup. Templates may include: – Prebuilt tasks, folders, and team roles – Defaults based on office or brand |
| 4 |  | Project Team | Select Users or Groups to invite. Anyone invited to the Project: – Gets access (regardless of their origin Office) – Becomes eligible to submit Timesheets (if timesheets are enabled) More on this in the Timesheet Administration module. |
| 5 | 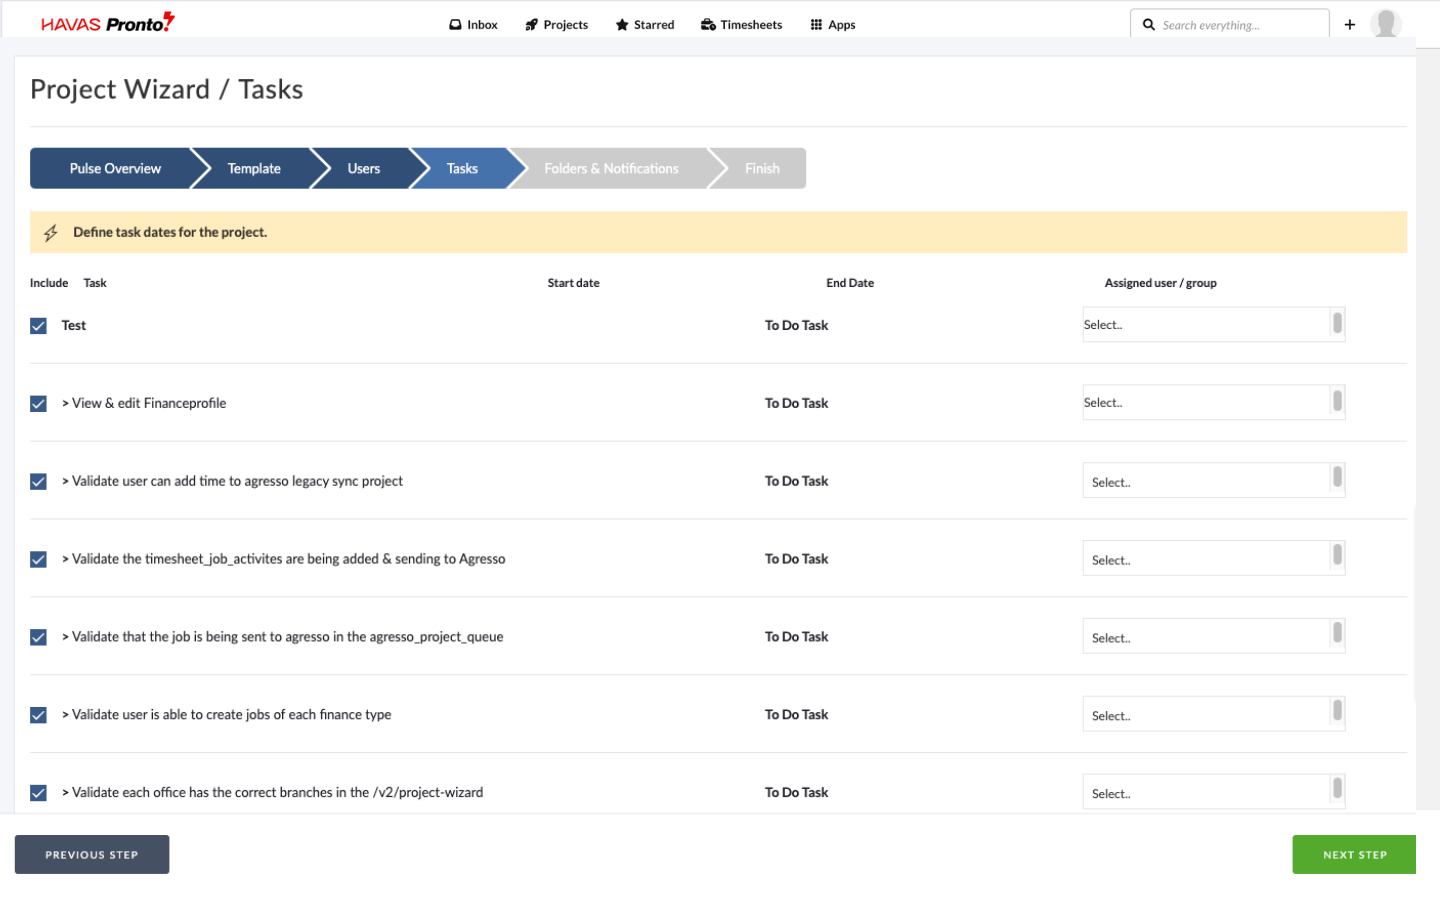 | Template Tasks | If your template included tasks, they’ll appear here. You can: – Review and adjust timings – Assign Users – Remove tasks you don’t need Some templates are locked by brand/office settings and may skip this step. |
| 6 | 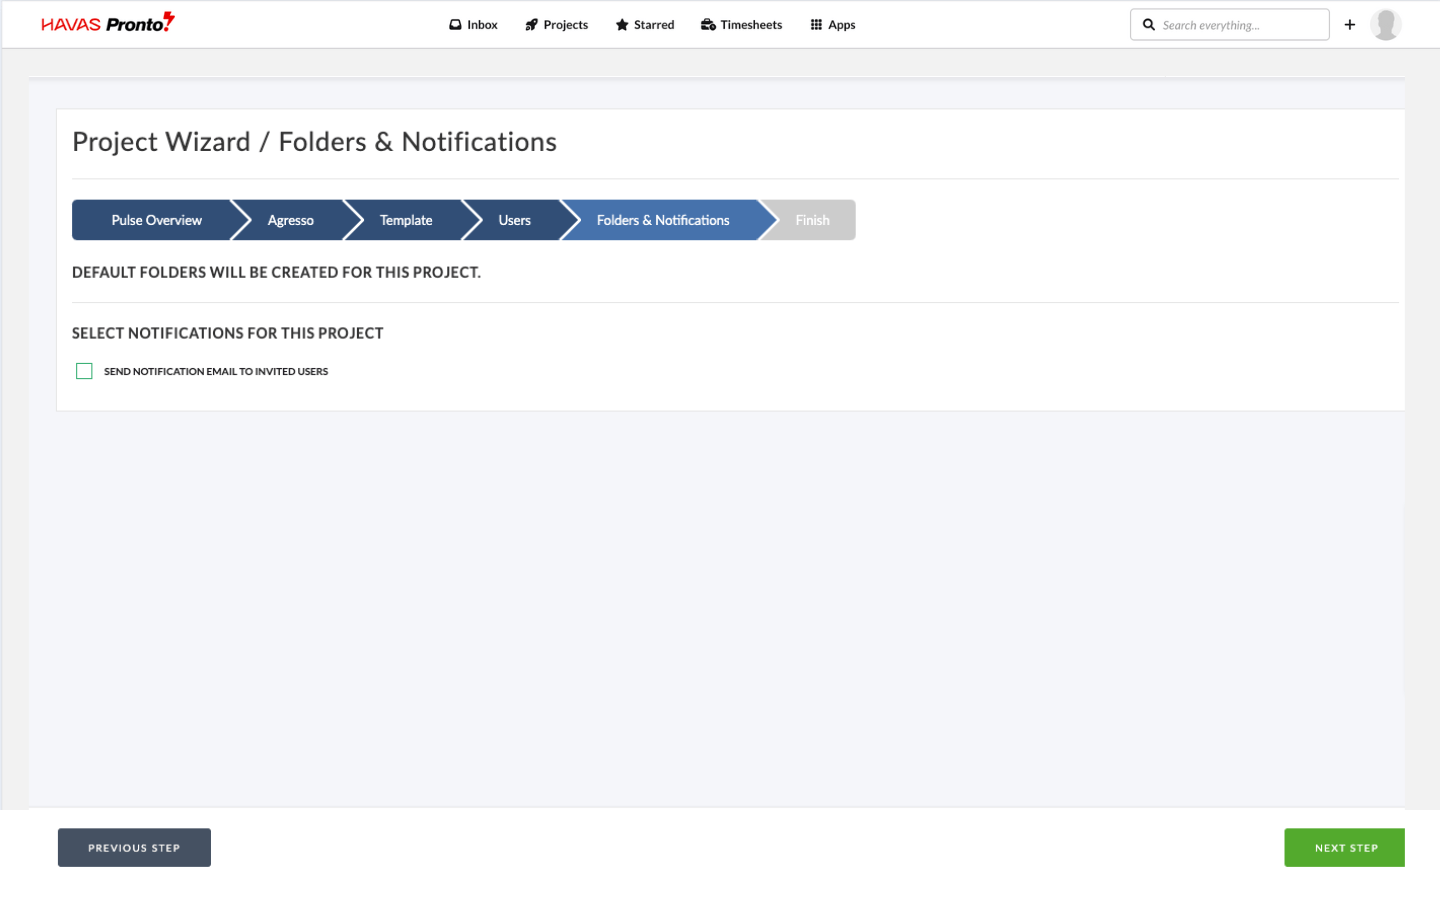 | Notifications & Folder Options | Before creating the Project: – Choose whether to notify Users (default: Yes) – Choose whether to create template folders (default: Yes) |
| 7. | 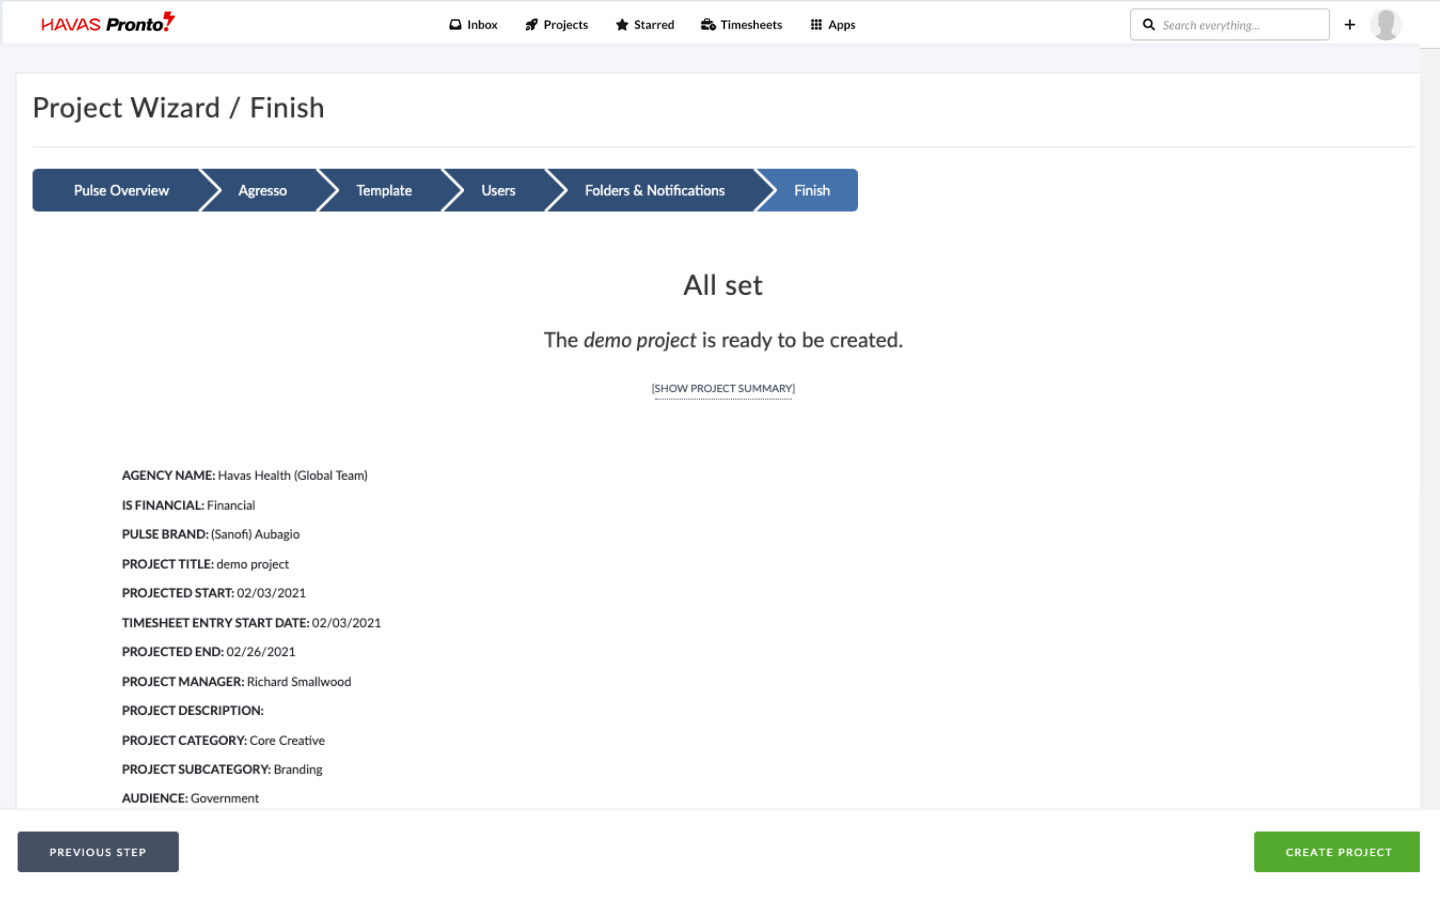 | Review Project Details | Preview all your settings. – If everything looks right, click Create Project – If not, click Previous Step to tweak your setup You’ll be redirected to your new Project once setup is complete (this may take a few seconds). |